If you ever leave an outdoor location without having captured the exact landscape photo you had in mind due to unfavorable conditions, don’t give up on the photos you shot — not all is lost. In this 14-minute video, photographer Mark Denney shares 5 editing “hacks” he often uses to compensate for bad weather and/or lighting.
Contents
#1. Light Source
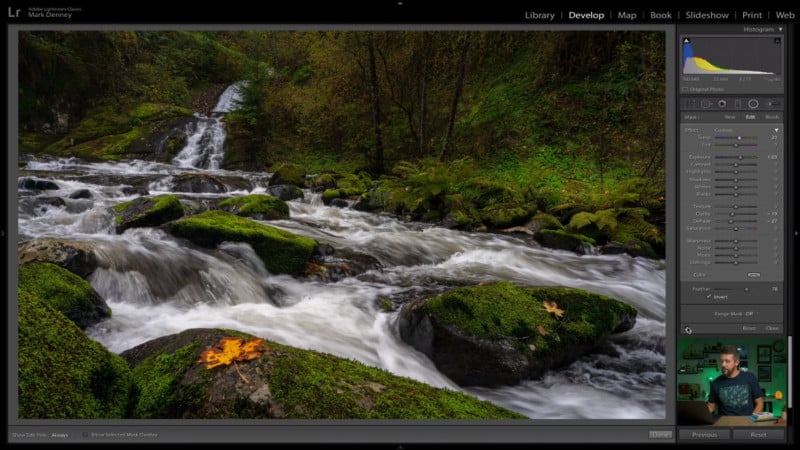
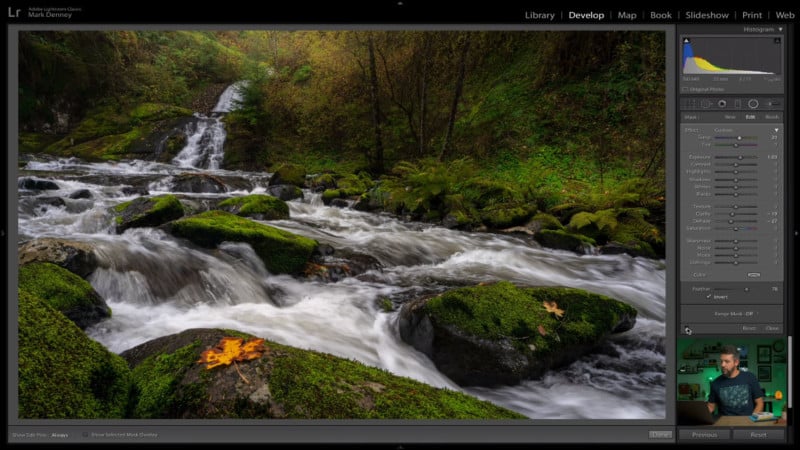
Using an inverted Radial Filter to increase exposure in a particular area of the frame, you can add a light source and/or enhance the effect of sunlight streaming into your shot. Reducing both Clarity and Dehaze helps to improve the illusion of sunlight.
#2: Luminance Glow
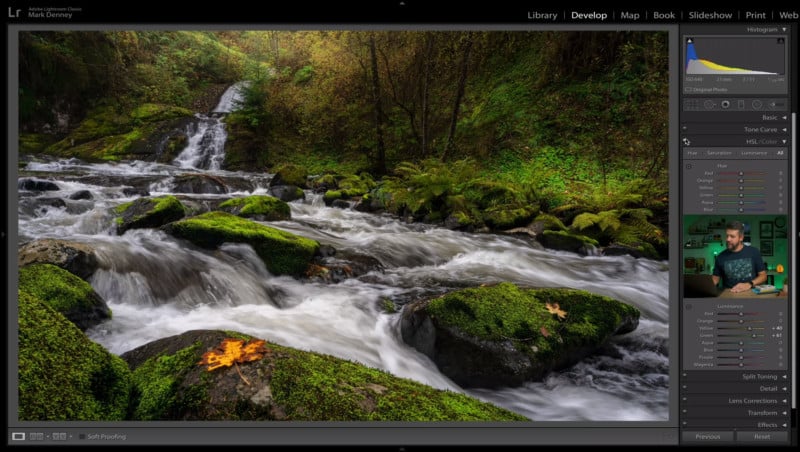
In the Luminance section of the HSL panel, increasing the luminance of particular colors can make your landscape photo “pop.”

#3. Dappled Dodge
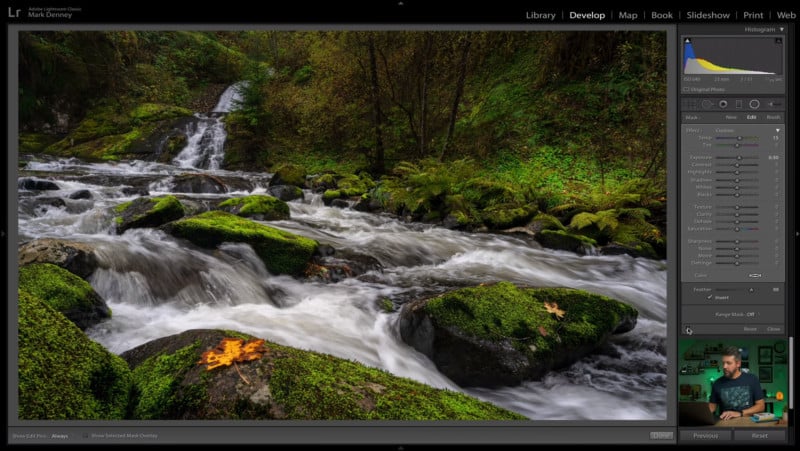
Areas that you target with the luminance glow can also be areas that you do “dappled dodging” to make the lighting more interesting. By using an inverted Radial Filter to increase exposure in those areas, you can create the look of spots of sunlight hitting certain parts of the scene.

#4. Seasonal Shift
You can use the Calibration and HSL panels to tweak certain colors if you’d like to “shift seasons.”
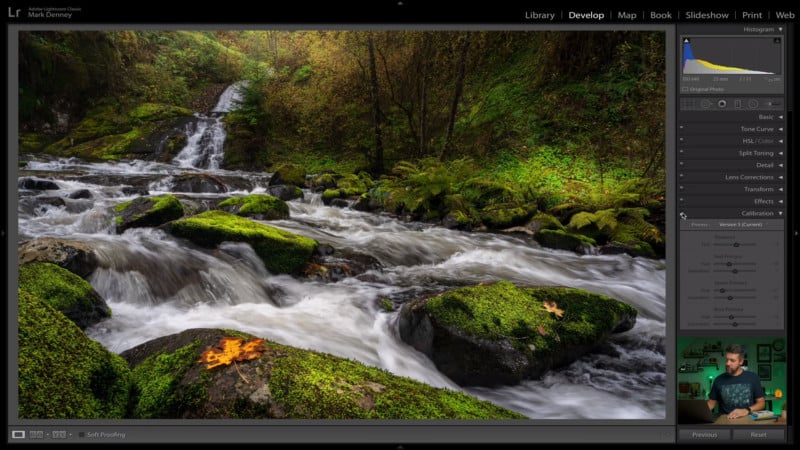

#5. Foggy Haze
Using the Gradient Filter and negative Dehaze can add a dreamy, foggy haze to your scene. This look can work well with woodland scenes.


The Result
Here’s what the original photo looked like after loading up the raw file:
![]()
And here’s what Denney transformed the shot into using these five tricks:
![]()
Watch the video tutorial at the top of this article to see a step-by-step walkthrough of how each of these steps is carried out.
You can find more of Denney’s work on his website, YouTube, Facebook, Twitter, and Instagram.