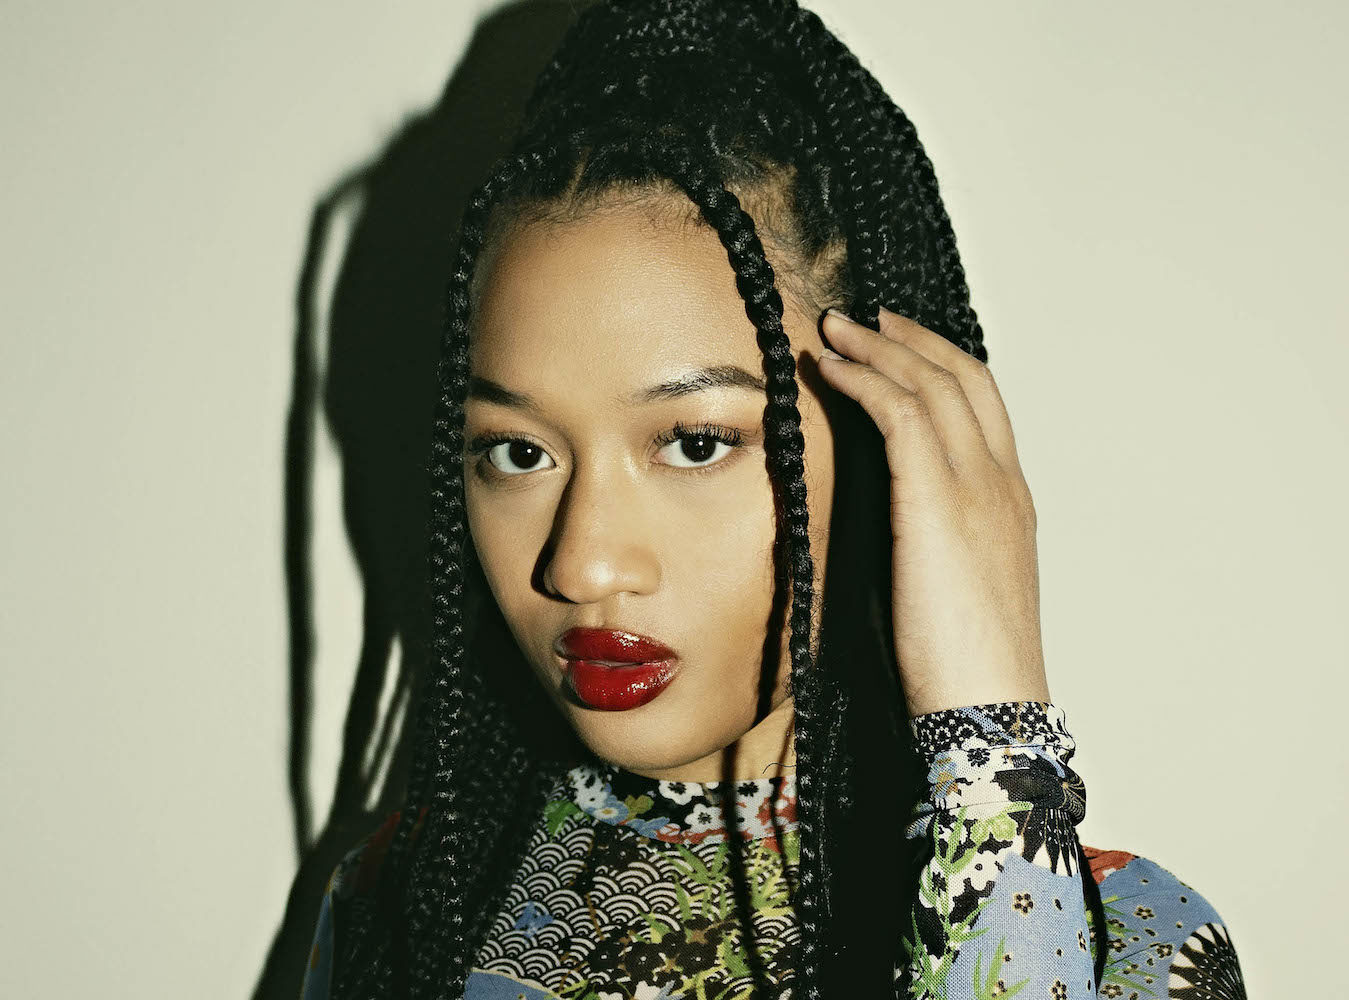
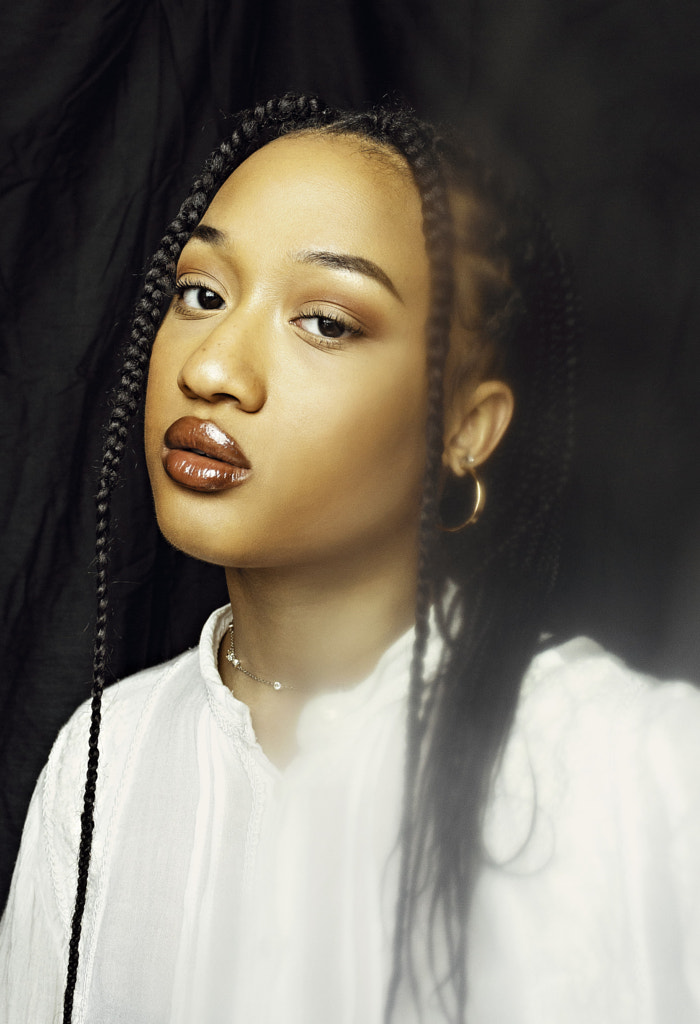
This tutorial is part of the “No Place Like Home” Campaign. We’ve partnered with some of our Licensing contributors to create these “conscious living” tutorials and Quests to encourage you to pick up your camera, maybe learn a new skill, and continue to do what you love despite these difficult times.
This tutorial was created by Dahyembi Neal, a top Licensing Contributor based in Chicago and Milwaukee, USA. She specializes in authentic portraiture.
The Quest associated with this tutorial is sponsored by Brevite. Learn more about Brevite here.
Let’s see your creative portraits! Practice your self-portraiture and then submit your photos to the Creative Portraits at Home Quest and you could win a Roamer II Backpack by Brevite.
Without access to a studio, models, or the outdoors, we have to adapt and become creative when we think about how we can dynamically stage shoots from home. This can feel somewhat limiting, however, enhancing your self-portraits is not as difficult to do as you may think.
Contents
What you will need:
- A camera, any kind will do
- A tripod, or somewhere stable you can position your camera
- A self timer, wireless remote, or a program that allows you to view your camera through your computer or mobile phone such as EOS Utility
- A window for natural light, one or two lights, lamps, and material that you can use as a softbox
- A reflector, or material you can use to reflect light such as aluminium foil or white paper
- A sheet or textured fabric, you can use an interesting texture from a shirt or curtain to help spice up your backdrop
- Household materials such as saran wrap, aluminum foil, or glass objects that you can use as props
Getting started:
For this series of at home portraits I used my Canon Rebel T5I with my 18-55mm kit lens. You do not need a professional camera to take fun portraits at home, you can use whatever is accessible.
I mounted my camera on a tripod, but you can also use any steady surface, such as a table. I then connected my camera to my computer using a program called EOS Utility. This allows me to see myself on my computer screen, since I don’t have access to my viewfinder. You can also use a similar tool on your mobile phone—most camera brands have apps in the iOS and Google Playstore. I would highly recommend using one of these tools because it will help you when trying to position yourself within the frame.
Helpful Resources:
The Best Camera & Lenses for Different Types of Photography
The 50 Best Photos Taken With Canon Cameras
Lighting your portraits at home:
Natural light:
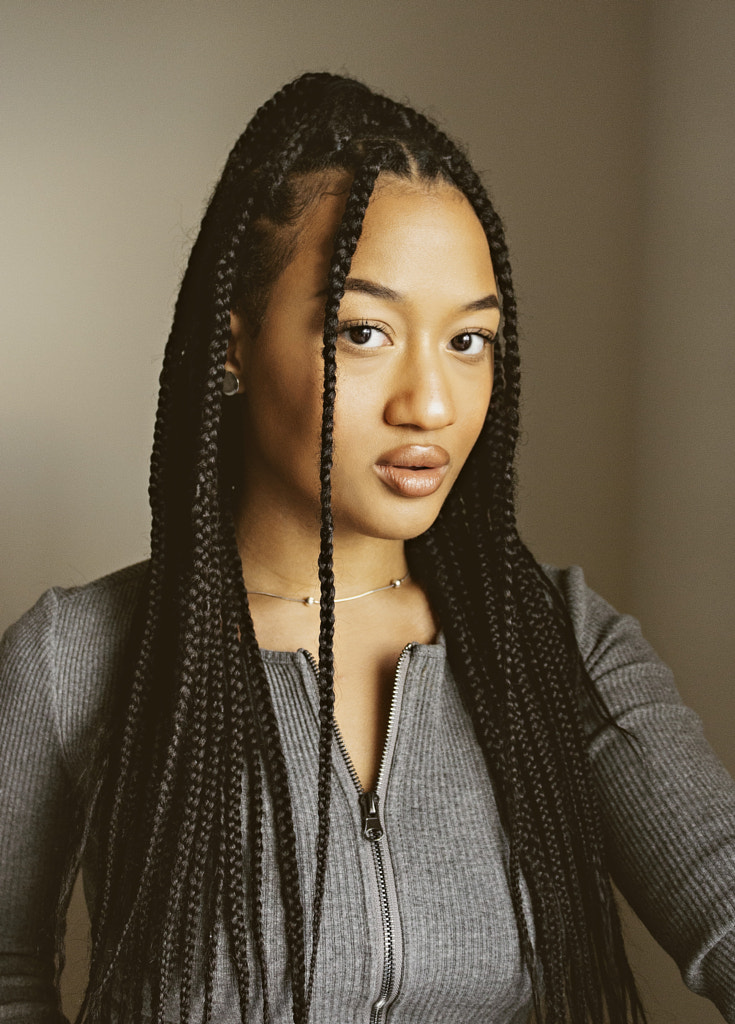
Natural light can give your portraits a soft glow. It is a great light source to use when you don’t have any available lighting equipment or accessible lamps. With natural light, you have a little less control over where it is directed, so paying close attention to how you position yourself within the frame is important.
A reflector is a great tool to use to help direct natural light and ensure you are adding light where it’s needed. The reflector will help bounce light onto areas of your face that may appear dark, providing you with a more evenly lit portrait.
If you don’t have access to a professional reflector, you can substitute white paper for it. This will softly bounce light onto your face. You can also use a mirror or aluminium foil, which will directly reflect a stronger light onto your face.
One light setup:
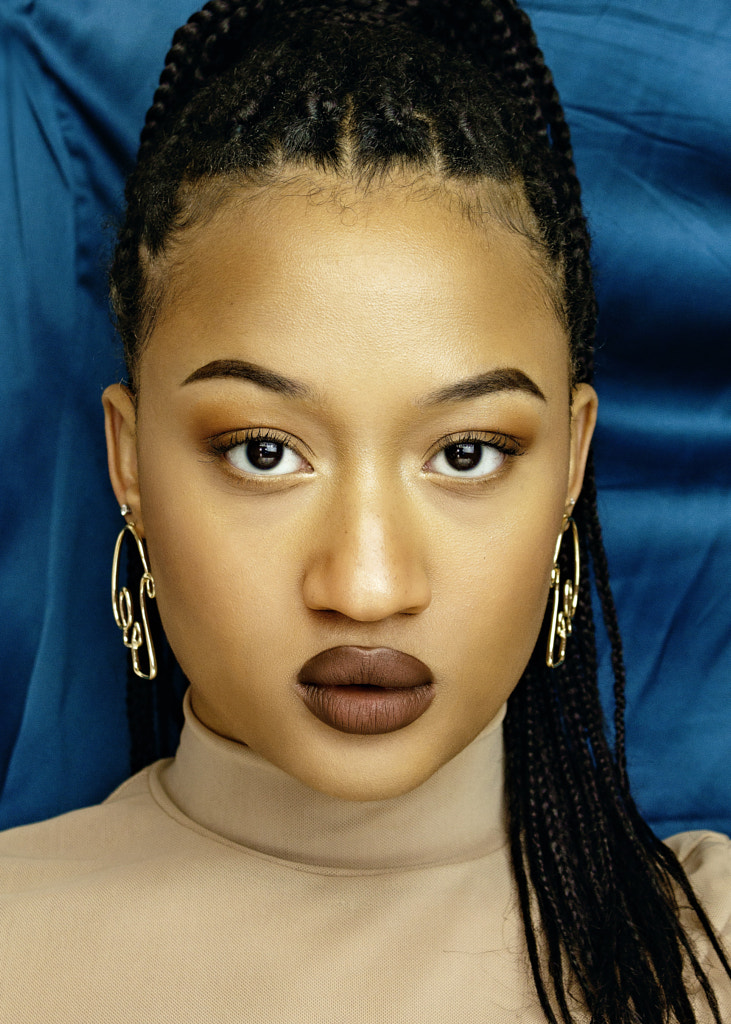
Using one light will create a more dramatic self portrait. I would encourage you to use something that will help diffuse the light to give a softer and more even lighting on your portrait. You can use a softbox to do this, or incorporate a fabric lampshade, which will work similarly to a softbox.
I set the light at eye level, directly in front of my face to help fill out the lighting on either side. I then incorporated a reflector to help fill out and light the underside of my face to achieve even lighting.
Two light setup:
Using two lights allows you to completely fill your portrait with light. The set up is a little different from a one light setup. When using two lights, I positioned them both above my head.
It’s always good to use a reflector when you can, because it will bring light to areas that may not be lit as well. In this case, I used a reflector to light the underside of my face.
Flash or external flash:
Most cameras come with a built in flash, or if you have an external flash lying around, this could be a good time to test it out. External flashes are more powerful than built in and can give a nice burst of light, but a built in flash will also work perfectly in this situation.
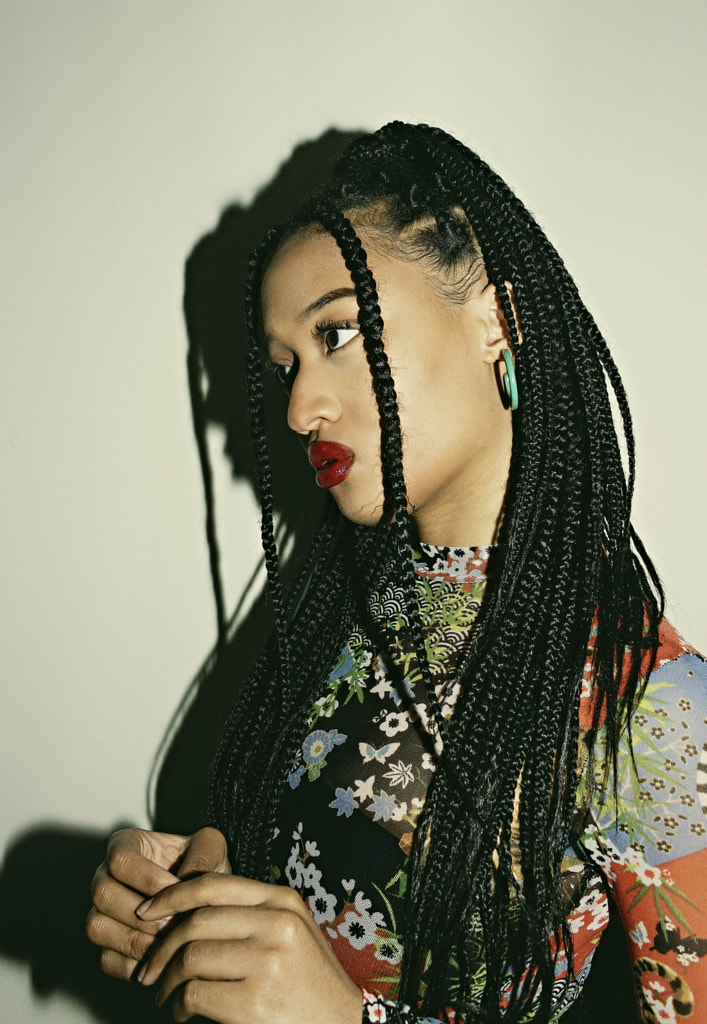
This is not a technique I use often, but is something that can produce some fun results that are on trend with the ‘disposable camera’ or ‘Polaroid’ aesthetic.
Styling your shoot:
Backdrops:
You can use almost anything as a backdrop. Many of us may feel somewhat trapped when using our homes as backdrops for fresh work, however, you can really use your imagination to spice up your portraits.
I used a sheet for one of my backdrops, but I also played around with textured, silky shirts to see how it would work with my portrait.
I have a backdrop stand from my professional shoots but if you don’t, you can simply tape your makeshift backdrop to a wall, or hang it over a shower/curtain rod for a similar look.
Props:
Props are a great way to add extra dimension to your self portrait and get creative with what you’re shooting. I first used a teardrop gem. This distorts the light and can sometimes cause a rainbow to appear as the light shifts through the prism.
If you don’t have access to a teardrop gem, you can use alternative glass objects to distort your portrait. Glass with any type of bend in it or shooting through a glass filled with water can also add interesting distortion to your image.
Next, I used plastic wrap. Plastic wrap (or Saran wrap) can provide a haze and blur to your portraits. It can also sometimes mimic the effects of fine art lenses, adding dimension to what you are trying to shoot. Depending on how much you stretch the plastic wrap can also determine the range of distortion on your photo. Play around with it until you get your desired outcome.
Watch as Dahyembi walks you through her lighting set up for creative portraits at home:
You Might Also Like These Articles:
35+ Best Black and White Portraits on 500px
How I Shoot Portraits Photography Shots
Tutorial: How to Capture a Long Exposure Portrait
Best Photo Shoot Ideas & Tips From An Expert | The Essential Guide
