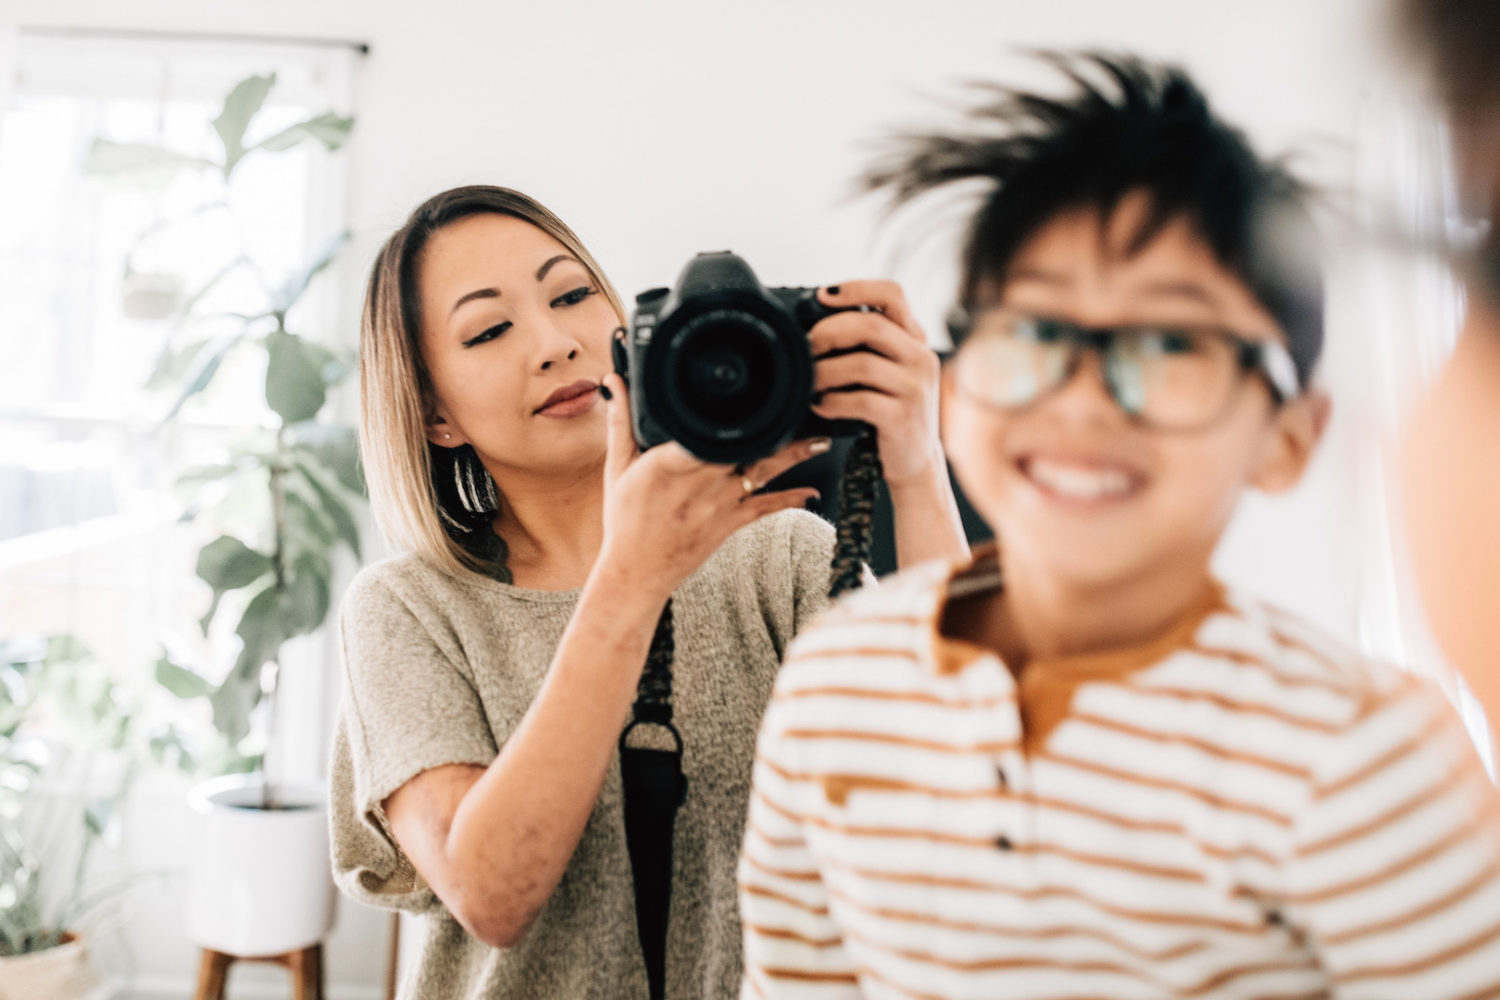
This tutorial is part of the “No Place Like Home” Campaign. We’ve partnered with some of our Licensing Contributors to create these “conscious living” tutorials and Quests to encourage you to pick up your camera, maybe learn a new skill, and continue to do what you love despite these difficult times.
This tutorial was created by Winnie Bruce, a top Licensing Contributor based in Maryland, who takes authentic family portraits. She has provided us with her best tips for taking self and family portraits in your home.
We want to see your candid family portraits! Submit your photos to this Quest and you could win $100 US.
A couple of years ago I wanted to dabble and add self-portraiture to my personal projects. Self-portrait photography is a very therapeutic activity, making it a great skill to learn while physically distancing during this crisis. It does take a bit of practice, but can also help you integrate yourself into the content you create. Here are a few tips on how to get started with your self and family photography journey.
Contents
Equipment you’ll need:
- Camera
- Smartphone
- Remote or remote app
- Tripod or s steady surface
All of this equipment, except the camera, of course, is optional. Just use what you have available to you at home!
I use my Canon 5D Mark IV for my self-portraits. To help, Canon also offers a remote you can use with your smartphone (I have an iPhone Xs). Download the version that will work for your phone, Android or iOS. The big benefit of using the 5D Mark IV is that I can easily frame myself properly since I can view my camera screen on my phone.
There are, however, a couple of downsides: It’s a bit slow to see your shots right away because it’s connected through WiFi. Also, holding your phone during shots can be a bit cumbersome. I’ve learned to maneuver my hand and also use the two-second timer. If your camera doesn’t have a mobile remote app, you can always use a trusty remote from places like Amazon.
A tripod can also help to hold your camera. However, you can also use a table, a stack of books, or any other steady surface to hold your camera while you shoot your self-portraits.
Practice your angles:
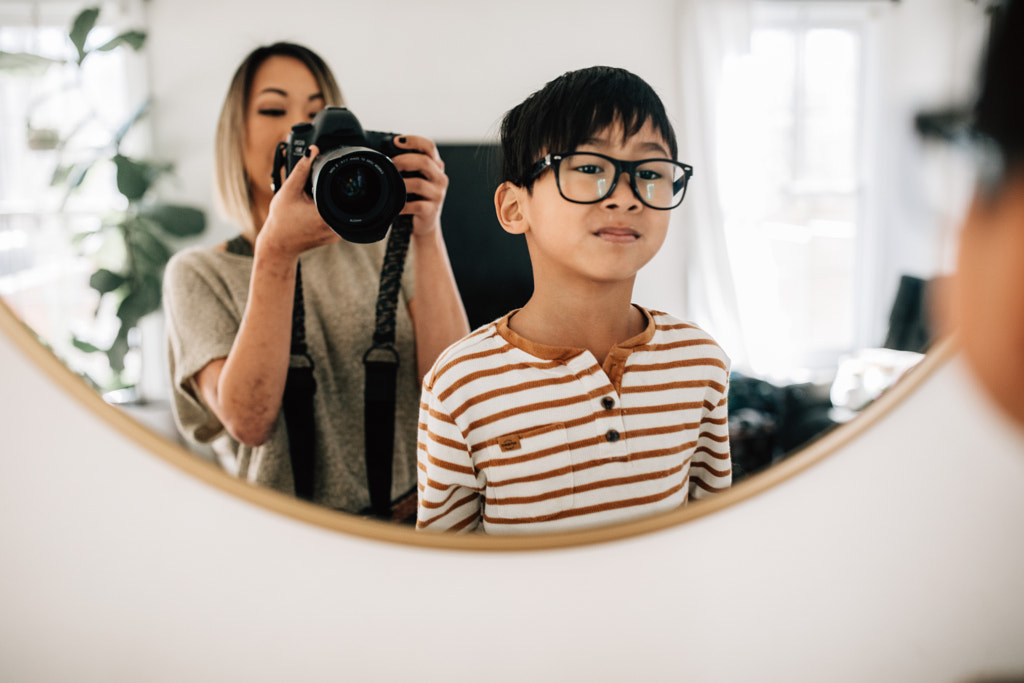
Before getting in front of the camera, it’s important to get in front of a mirror and understand your angles and what poses you want to shoot. If you have a pose or expression you want to capture but have only envisioned it in your head, practice it in front of the mirror for a bit. I generally try not to overcomplicate my poses, but I do lean towards half body shots and close-ups so that I can easily hide my phone in the shot. Here are some helpful male poses and female poses to help you understand what poses are popular today.
You can also take a video of your movements on your phone. I feel like seeing your poses and expressions on video first, allows for a better review and practice. These are also great tips for anyone else you want to shoot with.
When I’m ready to get in front of the camera, I use the front camera on my phone to check how I want to angle my camera. This helps me frame my face and my body. Because self-portraiture doesn’t allow you to look at your viewfinder while shooting, you have to keep poses and movements in your mind and envision your final shot from there.
Tips for posing and creating themes:
Press your tongue to the back of your front teeth. It helps square your jaw.
Remember to breathe! This seems like an obvious tip, but I personally have a tendency to clench my jaw and hold my breath when I’m thinking through my poses. Another method is to incorporate poses where you breathe through your mouth rather than your nose.
In terms of makeup, mattifying foundation and matte makeups sprays work the best for me. It also helps to speed up editing since I try to not manipulate skin too much unless there are visible blemishes.
Create a checklist of poses you want to shoot. As ideas come to me, I write them down so that I can check them off as I go through my shoot.
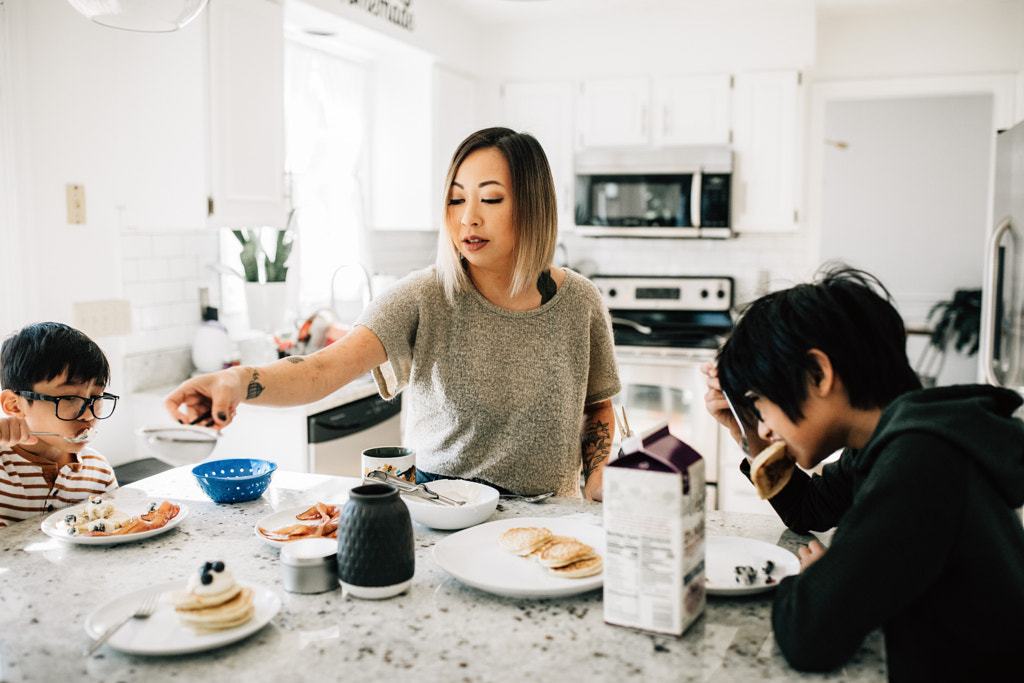
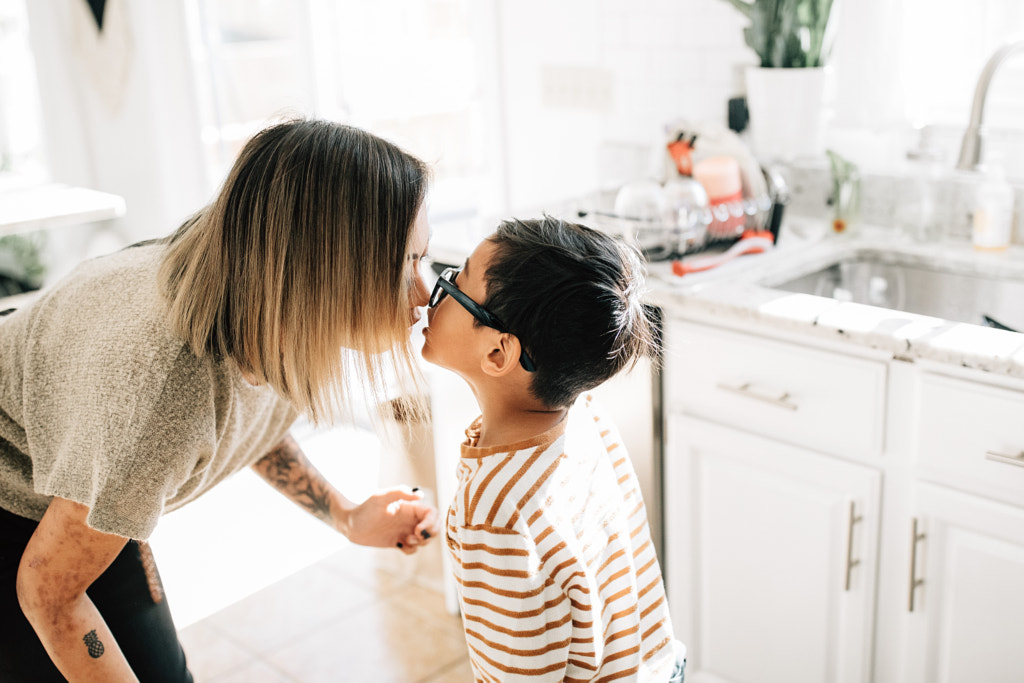
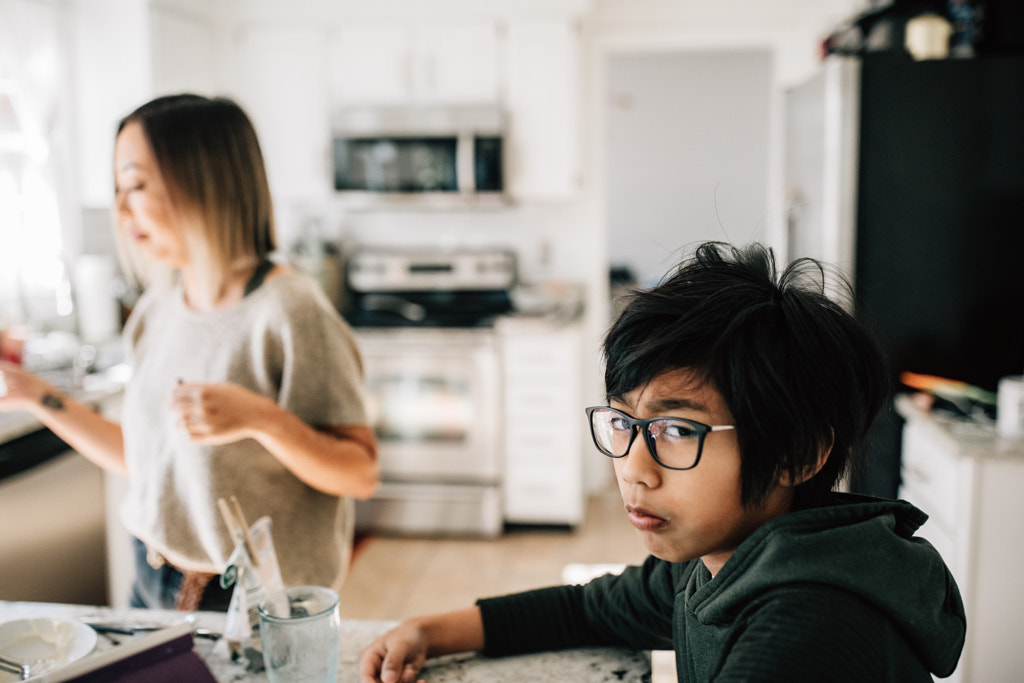
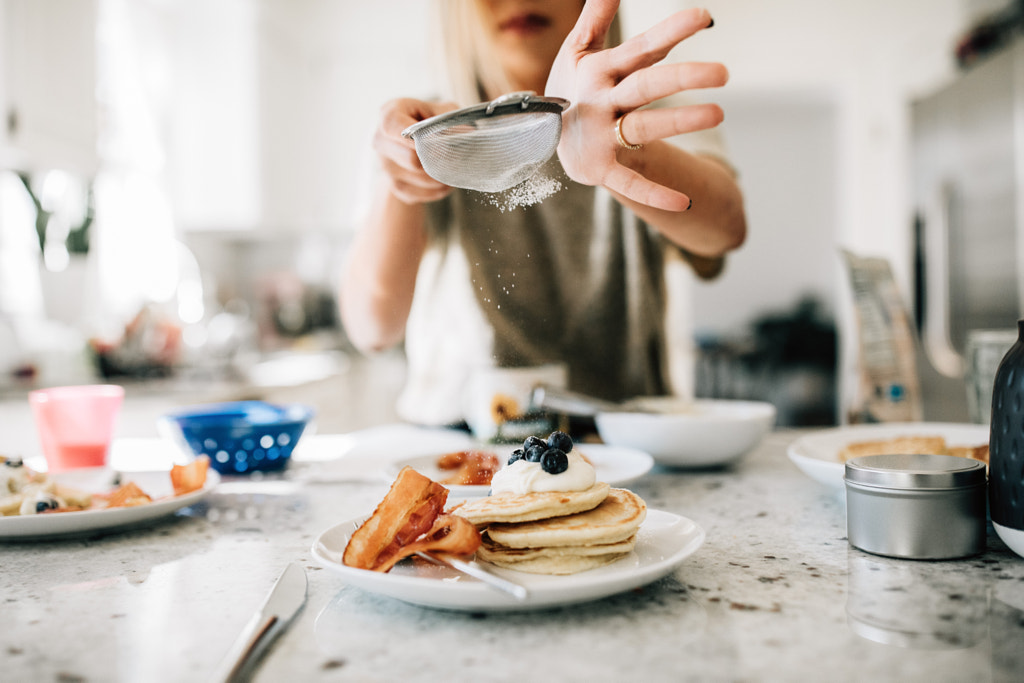
I often find that shooting everyday family routines as the most authentic type of portraiture. Think about the little activities you do throughout the day and have your family participate in them as they normally would. You will get some overly posed, and somewhat awkward shots, but mixed in with those will be the genuine and relatable moments. Consider documenting making breakfast for your kids, cleaning up around the house, enjoying dinner with your loved ones, or getting ready for bed.
Commercial photography themes also help because then I already have a concept to follow. This also helps me to stay accountable—I even started a self-portrait weekly portrait challenge to keep myself accountable this year.
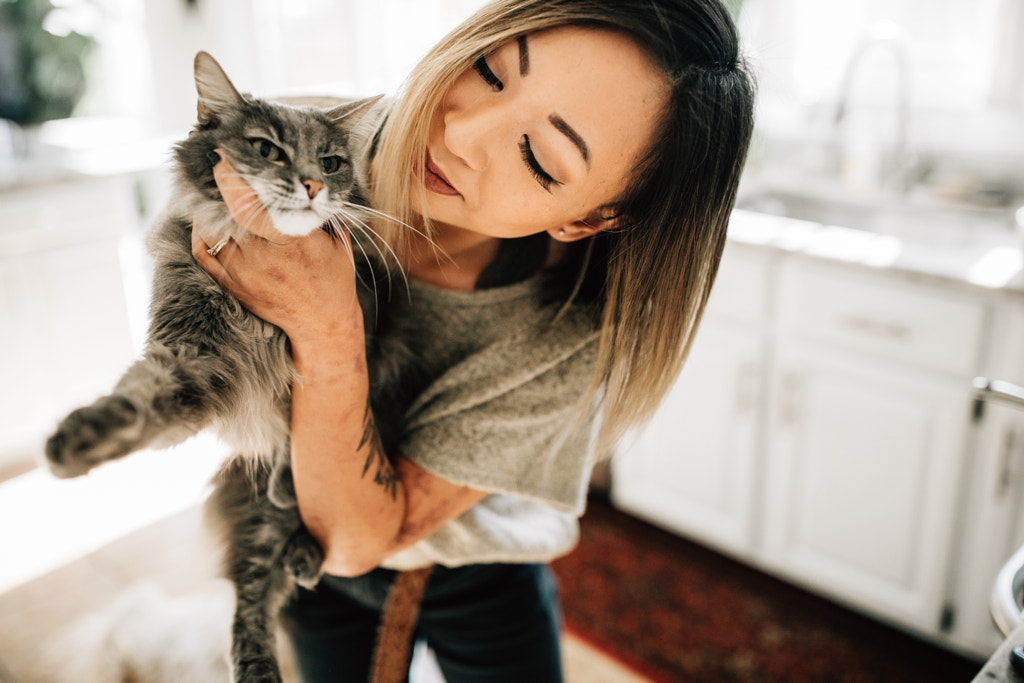
I do try to keep my themes and styles different every week. I vary from having my whole family in the photos, just my husband and myself, or simply just me. It is a lot easier to be solo, but my self-portraiture practice has allowed me to have lots of photos of my family and I together.
It’s time to get started:
Frame your shot first and have a marker. Your marker can be anything like a piece of paper or tape to signal where you should stand. Adjust as needed with your settings. ?
When I first started, I was using smaller apertures to make sure that I was able to get myself in focus. As time progressed, I started using larger apertures since it’s an aesthetic I prefer in my portraiture.
I also only use my 50mm and my 35mm lenses. I find that these are the easiest and most versatile lenses. I tend to shoot my self-portraits between f/1.6- f/2.8, also a personal preference.
If you don’t have a tripod, or if there’s a particularly difficult angle, ask for help if you can! I frame my shot, then hand the camera to an assistant (usually my husband). My Mark IV is a touch screen and I’m able to show him exactly where to touch the screen to focus and accomplish the shot.
Be ready for a smaller number of usable images:
I’m an over-shooter when it comes to my regular work but allowing myself to be OK with only a few usable images from my self or family portrait shoots has actually been a very therapeutic practice. Because of the time constraints in the practice of angling and framing, I normally only produce about 5-10 good shots at most during these sessions.
Tweak in post-processing:
One of the things I’ve taken advantage of in post-processing is occasionally using the lens corrections panel either in ACR or Photoshop. Because it’s sometimes harder to angle the camera properly on the tripod, the lens corrections allow me to tweak, creating a more desirable angle in the photo.
A practice of patience:
When I first started, all of my movements and poses looked very similar. Self-portraiture becomes a great tool to get to know yourself or document your everyday family life. You will become more familiar with what creates a genuine shot as you continue to practice the techniques mentioned here. Remember, take photos of everything you do to help create relatable content. Variety in your shots will give you the opportunity to create a fuller shoot. Including closeups, details, and pullbacks provide an added narrative to the shoot which will help translate to your viewership authentically.
You Might Also Like These Articles:
10 portrait photographers you should follow right now on 500px
Portrait Lighting Tips | The essential guide for photographers
