In 1860, the early English photographer Roger Fenton faced a new challenge when confined to his home due to terrible, unpredictable weather. The renowned landscape photographer suddenly found himself cut off from the gorgeous countryside, unable to produce the kinds of pictures that had made him famous. But instead of packing away the camera, he began to create lush still lives indoors, using lilies, ferns, roses, grapes, and plums to create bountiful arrangements.
Those simple still lifes, made at the end of Fenton’s short photographic career, remain some of the most iconic pictures in recent history, rivaling even his epic landscapes. More than a century and a half later, they still feel fresh and modern. Right now, during a time when so many of us are isolated in our homes, Roger Fenton’s story serves as a powerful reminder that the simplest objects and the most modest of means can form the foundation for extraordinary images.
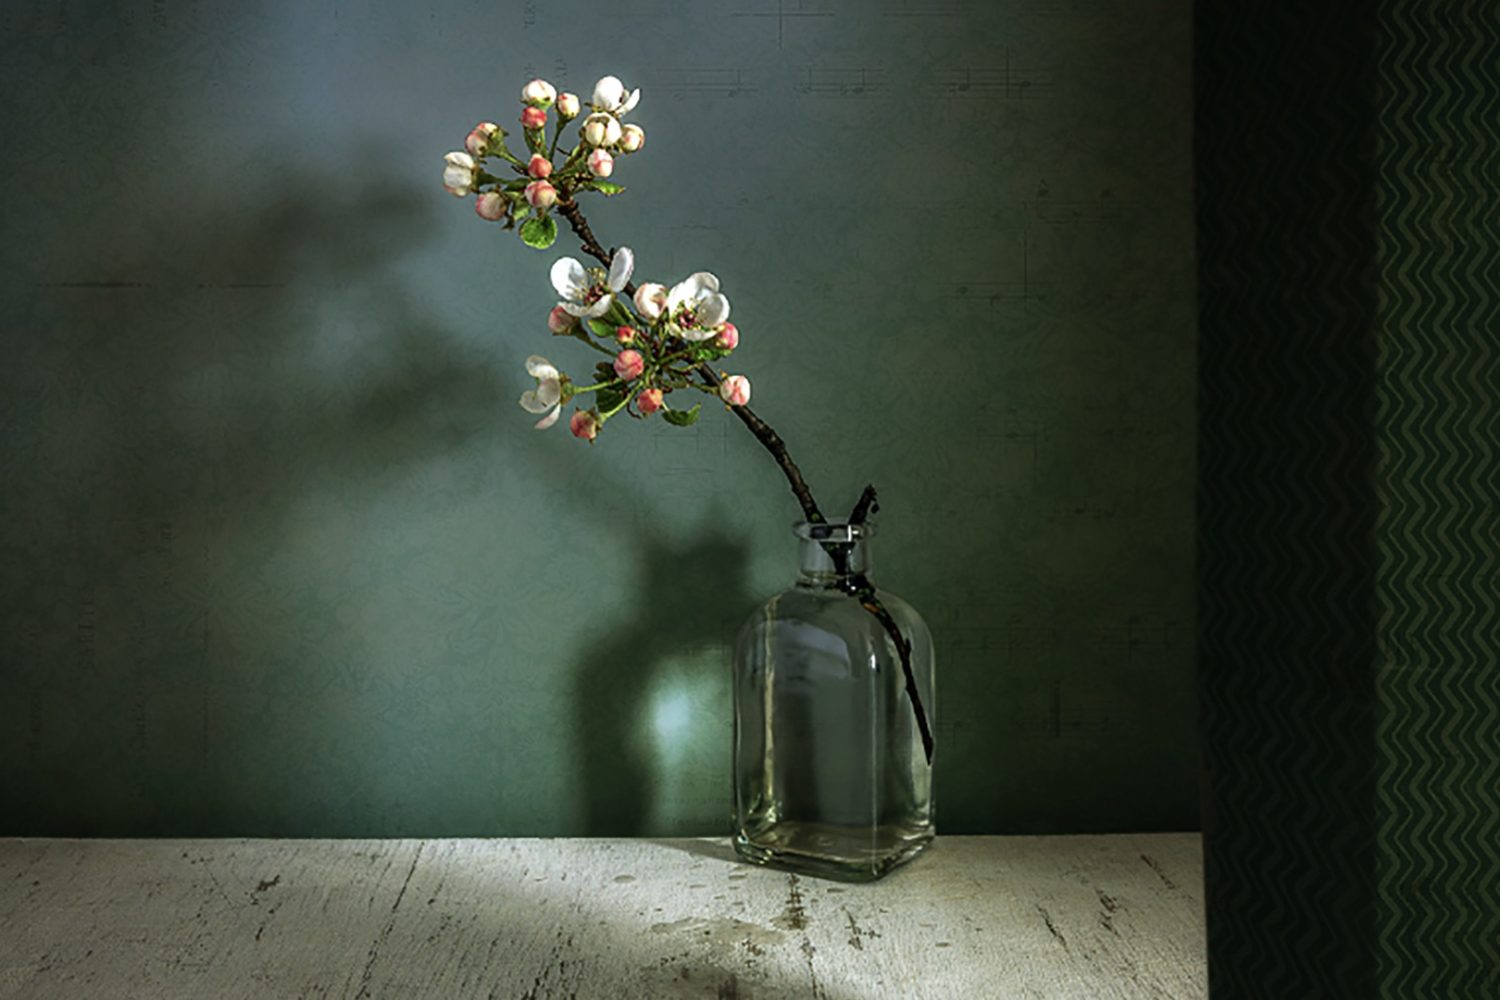
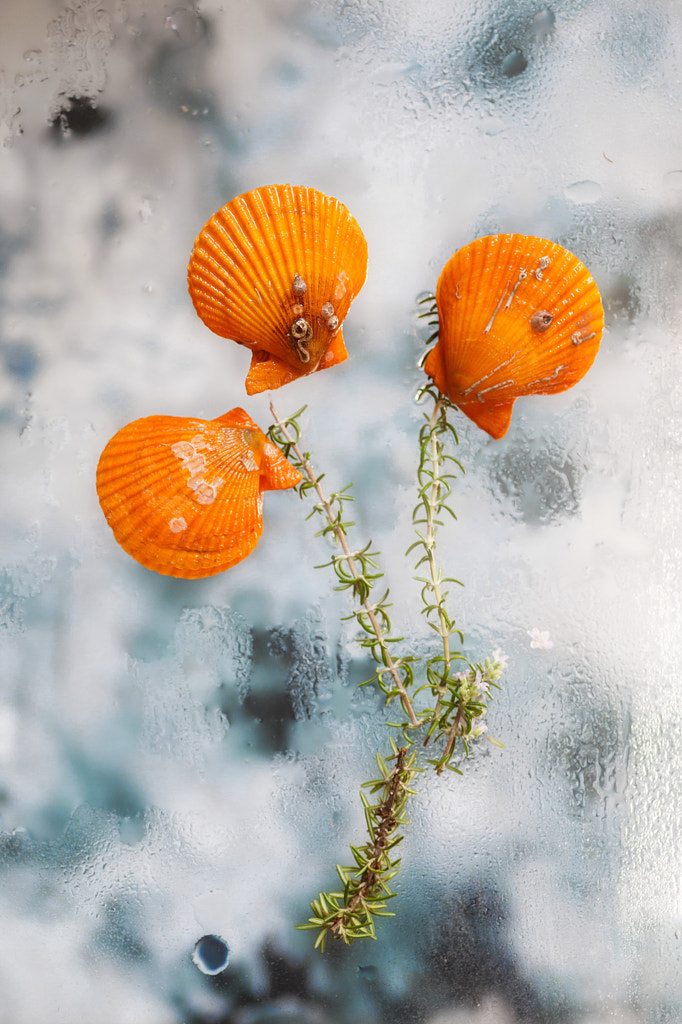
The still life genre, of course, comprises all images featuring inanimate subjects, from food to objects found around the house. Still life photographs can include any item that does not move (e.g., office supplies, kitchen utensils, etc.) or has died (e.g., cut or pressed flowers, plucked fruits). Here are our tips for getting the most out of this timeless niche. Throughout, we’ve included examples from the 500px community to inspire you along the way.
Contents
Develop a strong idea
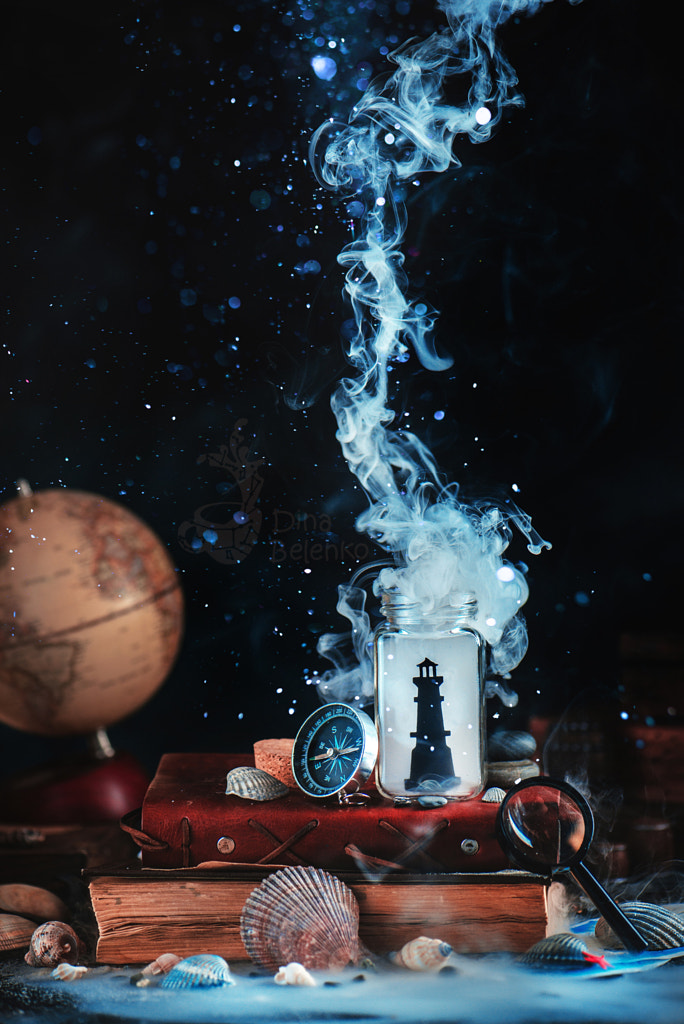
Still lives, whether painted or photographed, often speak in allegory. When Man Ray photographed a dead castor bean leaf in 1942, for example, he famously made it look like a hand or a claw so as to reference our mortality and the preciousness of life. More recently, photographers like Dina Belenko have created still lives inspired by imagined characters, sometimes referencing specific painters and movements from art history.
Still lives can be straightforward formal studies on the surface, but more often than not, they also hint at larger hidden meanings. Maybe, in the tradition of Man Ray, you take an everyday object and turn it into something else, or perhaps you allude to a work of fiction or literature. Once you have your initial concept, refine it, and add as many details as you can. The more fleshed out your idea, the easier it will be to bring to life.
For some brainstorming ideas, be sure to check out Dina’s still life how-to guide.
Choose a style
One advantage of shooting still lives is that you have maximum control over not only the light and composition but also the mood and atmosphere of your work. As Paul Martineau, associate curator of photographs at the J. Paul Getty Museum, once put it, the true magic of this genre lies in the fact that it can be as conventional or experimental as you wish.
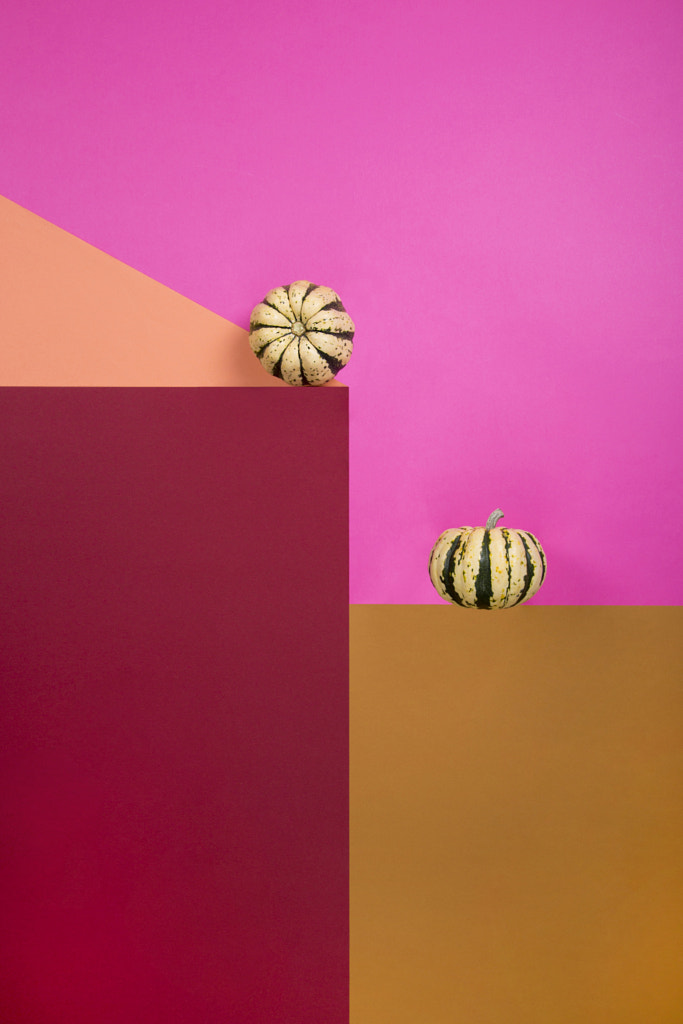
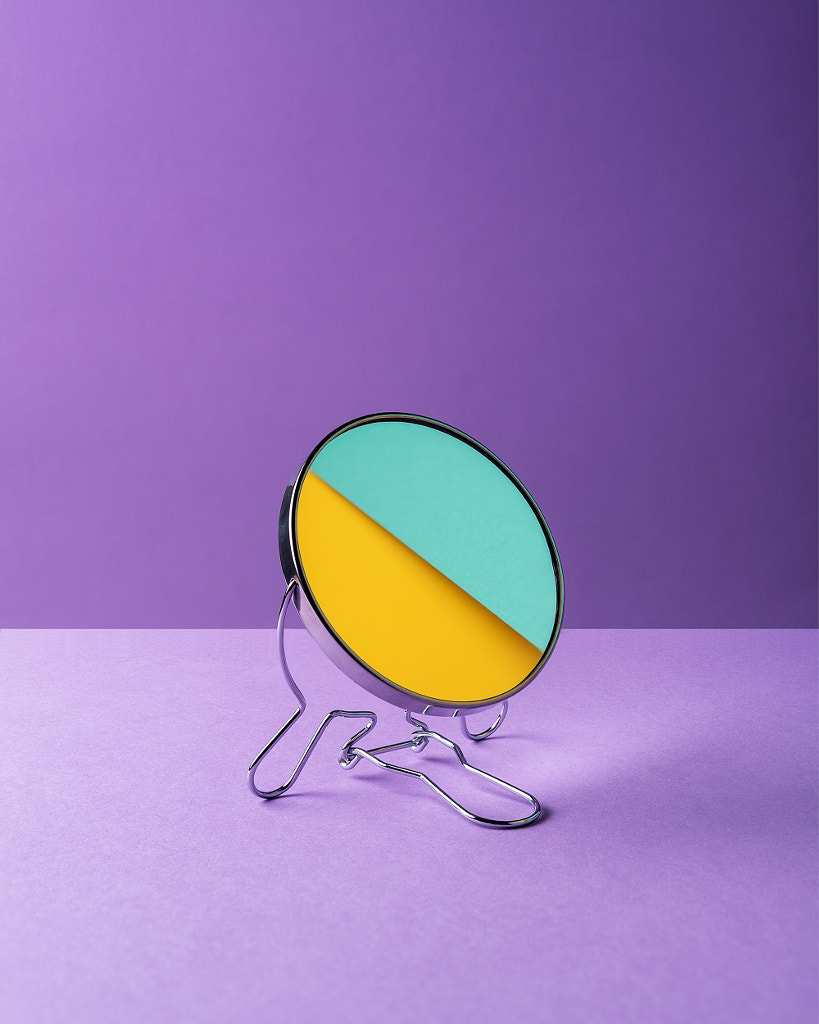
More traditional still lives might follow in the vein of 17th-century European paintings, where imported flowers and fruits represented the earth’s rich and decadent pleasures. On the other hand, you can take a pop-art inspired approach with bright colors and mundane, everyday objects.
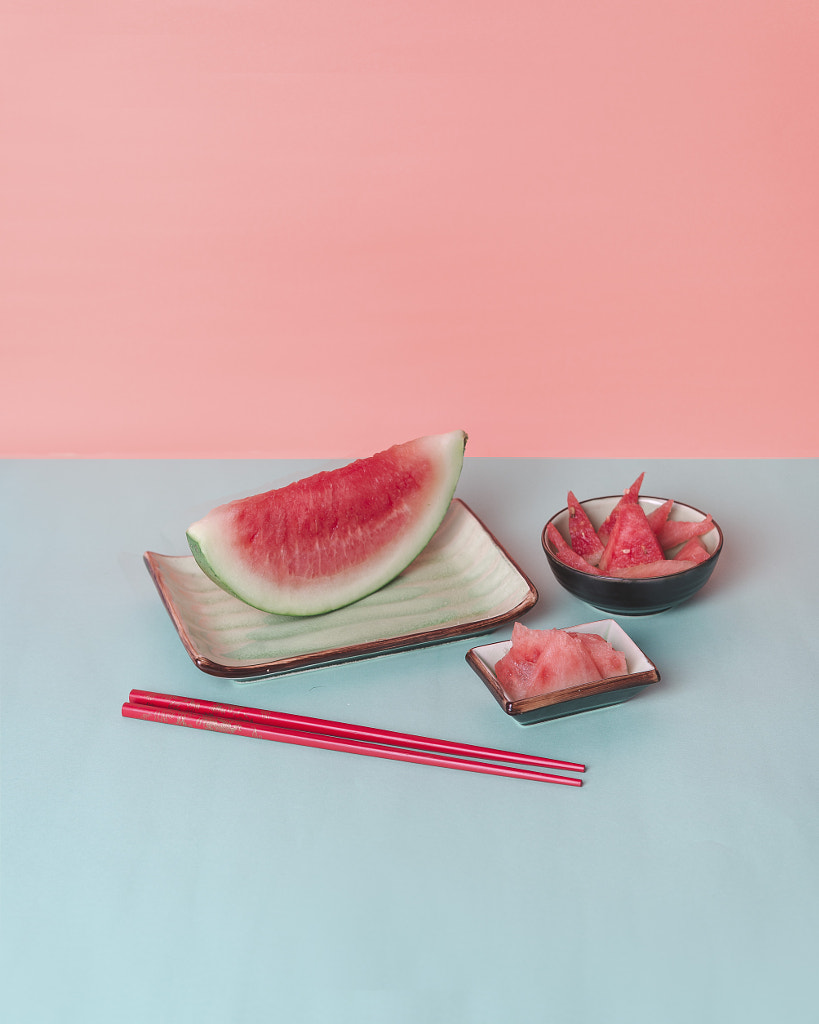
Perhaps you opt for a cookbook-worthy food shot, or you use found objects from thrift or antique stores and repurpose them in unusual and surprising ways, or you create a portrait of a specific place by arranging various souvenirs from your travels. You can go high-key with bright light and few shadows or low key with dark and muted tones. Select an aesthetic that works with your concept, and pull some photos from 500px for creative inspiration.
Perfect your composition
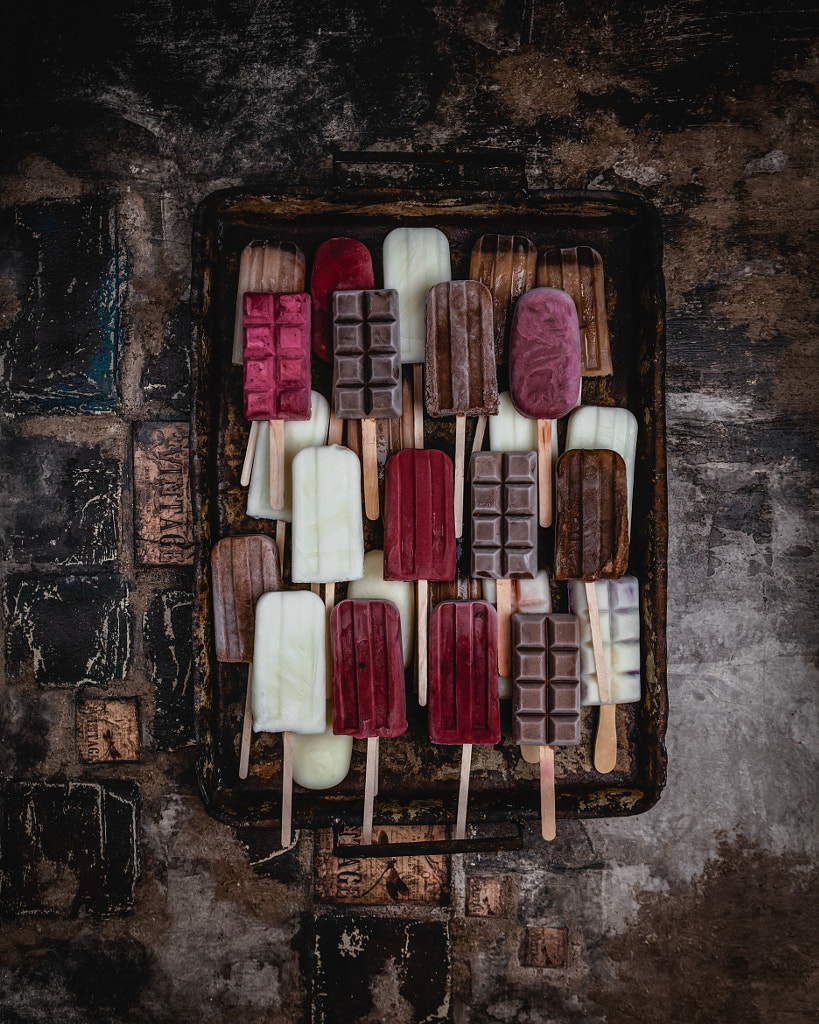
When shooting still lives, feel free to take your time planning and refining your composition. Consider conventions like the rule of thirds, leading lines, or the rule of odds, which dictates that an odd number of objects (e.g., three or five) makes for a more dynamic image than an even number (e.g., two or four). Weigh the pros and cons of using a traditional tabletop composition (shot from the side) versus a flat-lay, where every object appears on the same plane.
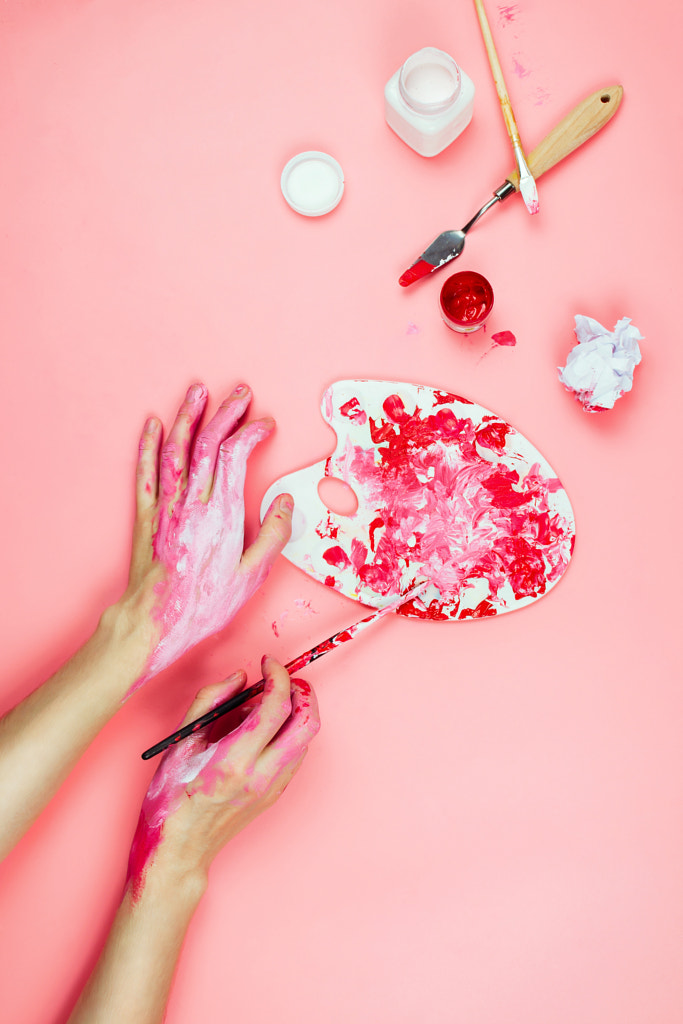
If you want to create floating objects, bring out your glue gun, or incorporate strings and toothpicks. Toy blocks, modeling clay, poster putty, and coins can also help you balance objects and perfect their positions. If you’re using your hands, wear gloves to avoid smudges and fingerprints.
Color will also play a role in your composition, so think about what hues work well together, and use saturated colors to draw attention to specific parts of your photo. You can fill the frame, or you can make a statement with plenty of negative space. Play with scale by placing a large object and a small one side-by-side, or introduce two seemingly disparate, juxtaposing elements to pique our interest.
Once you’re on set, use a tripod and maybe even a remote shutter release to free up your hands for some finessing and rearranging as you go. For convenience, you can start with one object, light it well, and gradually add others as the shoot progresses.
Use light modifiers
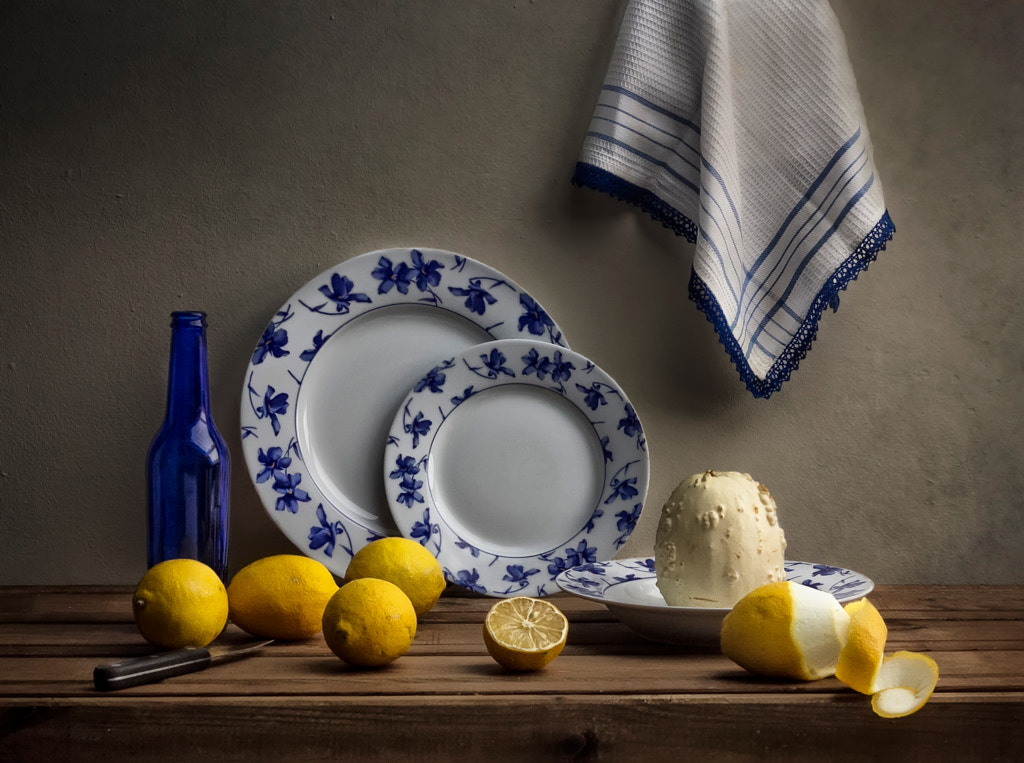
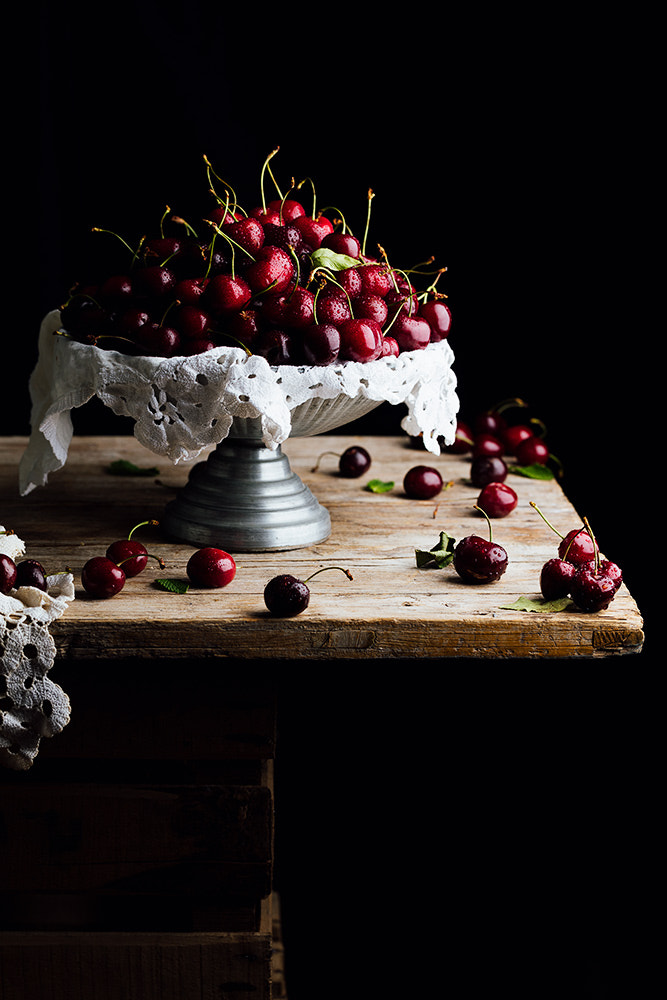
Tabletop still lives date back to the Dutch golden age, when painters like Pieter Claesz and Floris van Dyck set up common food and drinks on wooden surfaces. For these kinds of still lives, it might be worth experimenting with natural window light; schedule your shoot for overcast days or the golden hour, and use a white curtain to diffuse the sunlight.
On the other hand, if you plan to shoot product photos for a commercial client, you might opt instead for an off-camera flash and softbox for more power. A portable light source will also give you the freedom to move around; use backlight for silhouettes, or create some side-lighting to highlight textures.
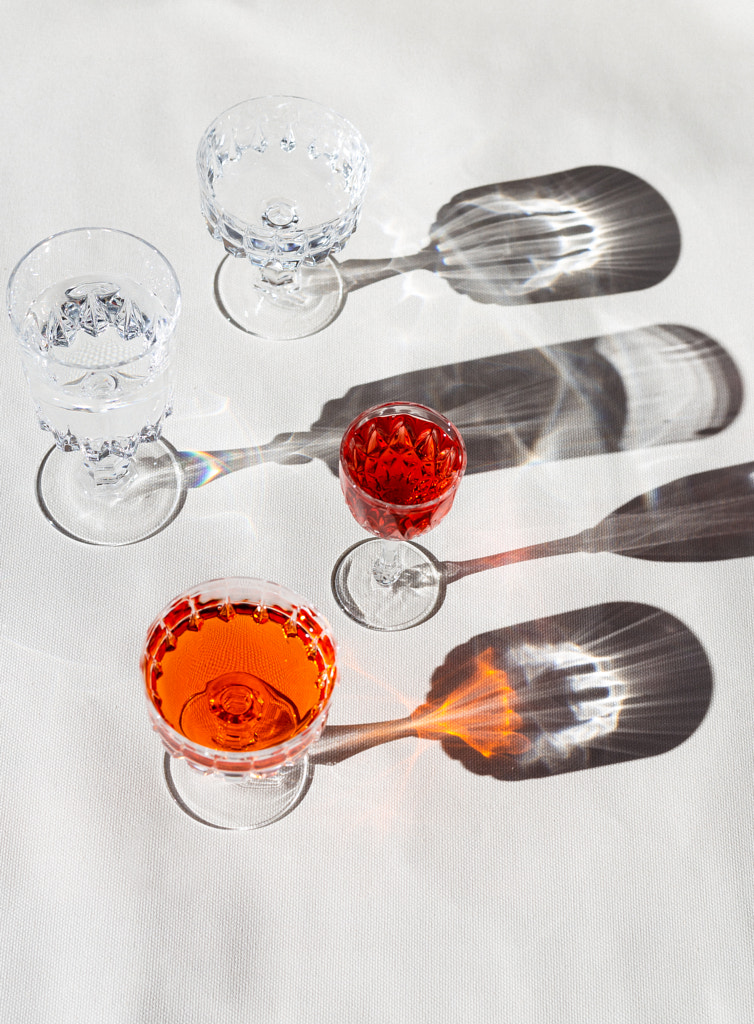
Modifiers like reflectors to bounce the light or gels and filters to change its temperature will also come in handy, and you can use flags to block out the light or create shadows where you want them. Photographers have been experimenting with modifiers for generations—around the turn of the 20th century, the photographer Baron Adolf de Meyer even placed a thin scrim in front of a set of glassware to make his pictures look more like paintings or etchings—so feel free to try new things.
Try out different lenses
Although cameras with a live-view LCD can be ideal for still-lives, you can create these kinds of photos with any camera on the market, from a point-and-shoot to an old film camera to a DSLR. More often than not, your lens can also help to determine the overall appearance and aesthetic of your photo.
Early still life photographs often had a hazy, gauzy look reminiscent of painting and brushstrokes, and you can still get that look today. Select a fast lens with a wide aperture for a shallow depth of field; once you’ve focused on your subject, the background will be thrown out of focus, creating a dreamy, blurred aesthetic. An affordable prime lens like a classic “nifty-fifty” will serve you well in most cases.
If, on the other hand, you want close-up photos, you might consider opting for a macro lens. These can be ideal for highlighting tiny details that are invisible to the human eye, bringing new life and layers to even banal subjects. If you find your depth of field to be too shallow, use a focus-stacking technique in post.
In general, you won’t need a wide-angle lens for still lives, as you won’t be shooting vast areas, and you’ll want to avoid any unnatural distortions. Whatever lens you choose, use manual settings if you can for the most creative control possible.
Get creative with backgrounds
Your choice in background will set the scene for your still life shoot, whether you choose to have it in focus or not. While professional seamless paper works well for commercial shoots (especially if you want to isolate your subject), you can also play with rustic wood or stone backgrounds.
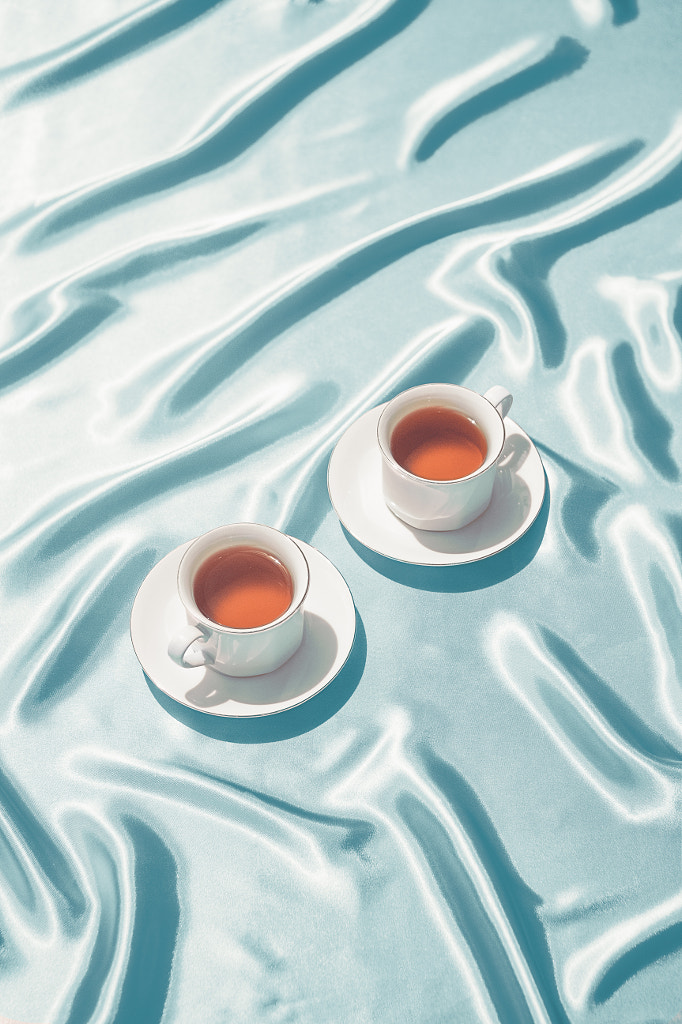
Keep in mind that shiny surfaces will create reflections; these can work well in product photography but often prove difficult to control, so if they’re causing issues, feel free to use some dulling spray on set. Velvet or velour, on the other hand, will absorb light.
In some cases, wallpapers or even a painted canvas could also add texture and bring out the colors of your scene. Alternatively, you can build miniature setups or stage sets using cardboard and fabric. As you expand your repertoire, your still life background collection will grow, and you’ll also develop an eye for repurposed fabrics or surfaces that you can incorporate into future shoots.
In our increasingly fast-paced world, still life photography provides us with a rare chance to slow down. If street photography is defined by fleeting, blink-and-you-miss-it moments, still lives represent the opposite. You can spend all day photographing the same setup, making minor adjustments to lighting and composition, or you can photograph the same object over and over again, for days on end, using different setups altogether.
As we weather this pandemic together, we’re heartened to see photographers push the boundaries of this time-tested genre and create pictures that spark our imaginations and transform everyday objects into something more.
Not on 500px yet? Sign up here to explore more impactful photography.
