Adobe Lightroom is an all-rounder photo editing and management software that empowers users to organize and manipulate photos in large quantities—without spending all their time stuck behind a desk. For some, it’s best used in conjunction with Photoshop, where they can fine-tune their images with more complex edits, but for many, it’s a creative playground in and of itself.
One area where Lightroom comes into its own is in presets, or a saved set of edits and settings you can apply to any photo for a unique feel. Presets save time, but beyond that, they also give many photographers that signature “look” that sets them apart from the crowd. Lightroom automatically comes with its own set of presets, but you can also download presets from the web and install them—or, better yet, create your own.
The preset market exploded in the summer of 2018, when Adobe gave users the ability to create—and share!—them through their mobile devices. Established and emerging artists and influencers started earning passive income from their digital assets, with many offering their presets for free and others earning hundreds of dollars per bundle. If you want to get started monetizing your photo editing skills, Lightroom presets are a good place to start.
Contents
- 1 What is a Lightroom preset?
- 2 How to make Lightroom presets
- 3 Doing your research on the type of preset you want to make
- 4 Making presets that are consistent with your style and voice
- 5 Testing if your preset has what it takes to sell
- 6 Naming your presets
- 7 Selling your presets
- 8 Pricing your presets
- 9 Promoting your presets
What is a Lightroom preset?
At its most basic, a Lightroom preset is a combination of predetermined positions of the control sliders in Lightroom. By saving the settings as a preset, you are increasing the efficiency of your workflow by making it easy to apply them to your other images in Lightroom.
How to make Lightroom presets
First, select the photo you want to edit and save it in Lightroom.
Next, enter your editing workspace, and adjust the Contrast, Color Temperature, Vibrance, Texture, and more to your liking. You can always click back to your “Show Original” icon to compare the edited version to the initial photo.
Once you’re done, hit the “Preset” button, click those three dots, and choose “Create Preset.” Lightroom allows you to check which edits you’d like to save in your preset and which to discard
From there, you can name your preset, save it, and apply it to more images. Your presets can be edited at any time to suit individual photos.
Doing your research on the type of preset you want to make
When dipping your toe in the preset pool, it’s worth checking out what other photographers and influencers have done before you. Presets are always subjective, but there are trends that dominate the market.
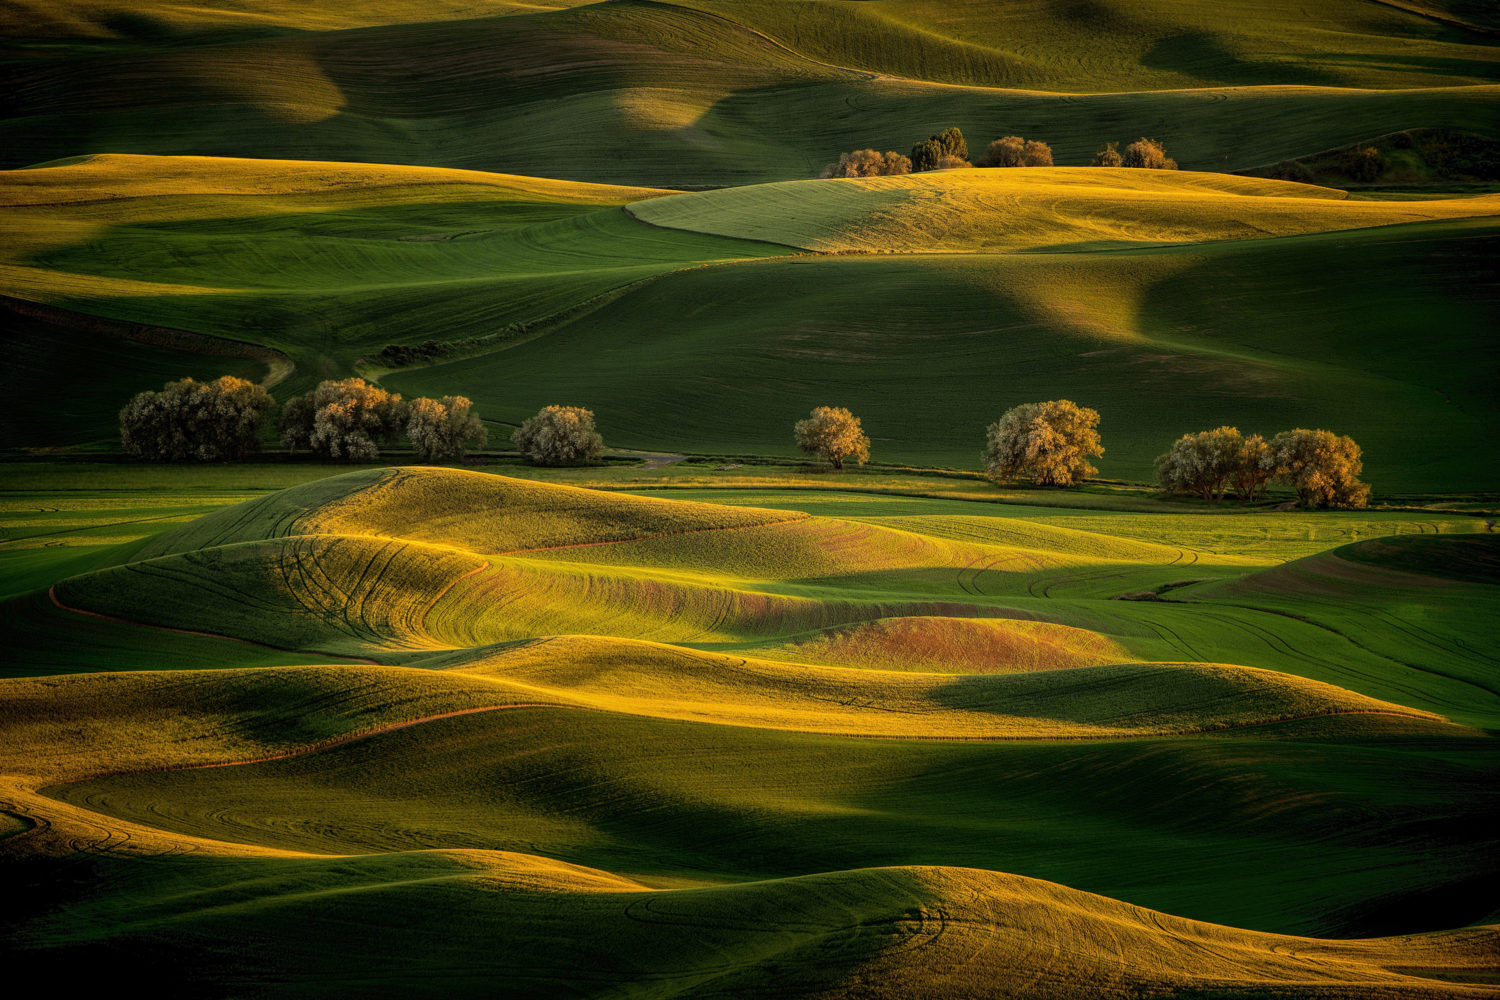
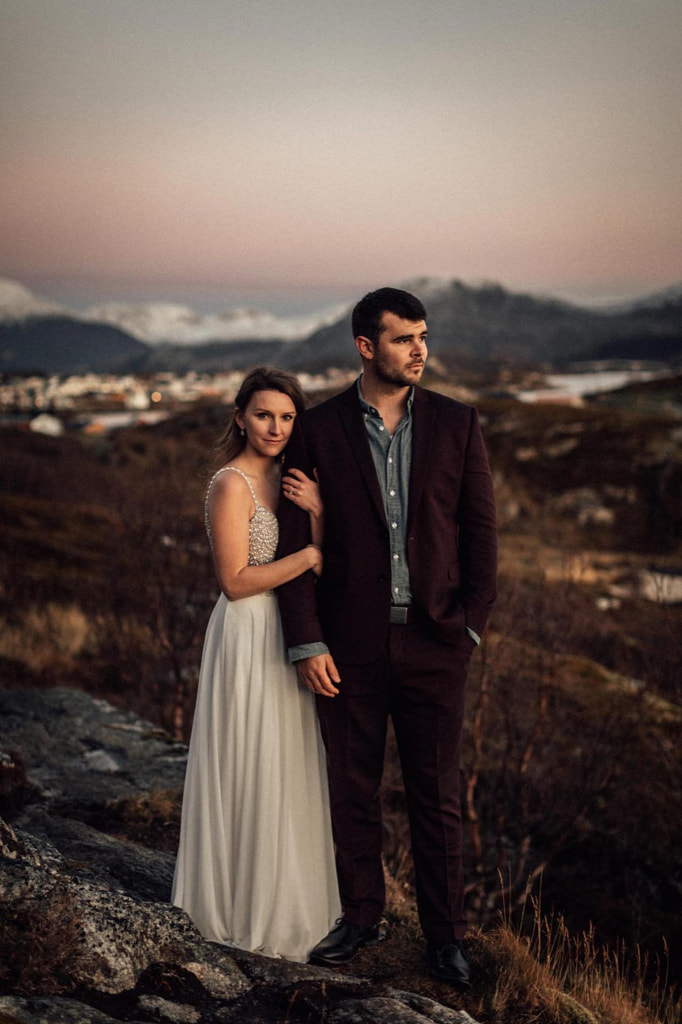
Take a look at how photographers you love—and importantly, who are working in the same genre you are—are editing their images. A dreamy wedding photo edit will look different from a dark, cinematic edit, which will, in turn, differ from an epic landscape. Immerse yourself in your niche to get ideas.
Check out how large companies use presets as well; many will consistently apply the same edits to much of their branding on social media. Of course, the intention isn’t to copy someone else’s work but to gather inspiration and build a reference library. Look for trends, and take note of what you like and don’t like.
Making presets that are consistent with your style and voice
Presets are all about finding your personal style and creating a vibe that’s authentically yours. Come up with some key words or phrases that suit your aesthetic, and think about the emotions you’d like to evoke with your preset. Create a mood board that encapsulates your “brand” and the story you want to tell using color and contrast, and then refer back to it often while adjusting those sliders.
Experimentation is key here. Shoot a lot of photos, and when you get home, choose your best ones to edit. It’s best to shoot in RAW format, since these files contain more information and editing potential.
Familiarize yourself with every slider in Lightroom, and don’t be afraid to play around—there are no rules here. Once you’ve tried everything out, look back at all the photos you’ve shot and edited. Return to that mood board and see which of your edits suit your vision, whether they’re airy and light or moody and full of contrast. What are your signature colors?
Finally, revisit those presets you found in your initial research, and ask yourself what makes yours unique or different. The more specific you can get in refining your market and your point of view, the better.
Testing if your preset has what it takes to sell
Some of your presets will be for personal use, but if you want to make them available to your colleagues and peers, it’s worth doing a test run. Heavy or extreme presets, in particular, might look great on some photos and not-so-great on others, so apply your preset to as many photos as you can to make sure they have commercial value. A good preset is a versatile one.
Would someone else working in your field be interested in achieving this style in their own work? Do your presets work well with photos made with different exposures and settings, and would they be suitable for amateurs as well as pros? Can they troubleshoot some common difficulties photographers might encounter in certain lighting or weather conditions?
If the answer is “yes” to the questions above, you’re onto something. Most preset packs will include different versions of the same preset, so feel free to save a few adjustments on a similar edit; that way, buyers don’t have to go in and do their own fine-tuning once they’ve downloaded it. Give them some options by providing a package deal around a single theme.
Naming your presets
Lightroom is a powerful organizational tool, so take the time to name your presets and save them properly. You’ll want to be able to find them easily—and remember what they do—so give them descriptive titles. For instance, a title like “Film Noir Preset” will prove more helpful than something like “Preset 25.” You can also create custom folders for different preset packs and sets.
If you plan to sell your presets, the naming phase will also become part of your branding. You can title your preset with your business name, reference a film that inspired you, or let buyers know what mood you want to evoke. You’re marketing an edit, but you’re also marketing an atmosphere and a vibe, so get creative with your titles. Include your copyright details or website in your metadata too!
Selling your presets
If you want to shell your presets, you’ll have to upload them to an e-commerce platform of your choice. Many opt to sell their presets directly through their personal websites, so if your website builder has a commerce option, that’s a great place to start.
Alternatively, you can also sell your presets through a platform like Etsy, Sellfy, FilterGrade, or Creative Market. Try out different options, and find what works for you and your audience.
Pricing your presets
Pricing is always a personal decision, but it can help to do some research and see how other photographers and influencers are pricing their presets. Of course, you’ll want to be competitive and attract customers, but you also want to value the time and energy you put into your work.
Study your peers and take a critical look at your own presets. If they offer something no one else has—or have a specific application that no one else has thought of—they might be worth more. You can also offer a free pack as well as a paid selection so buyers can sample your work before they buy.
It’s also worth factoring in any costs associated with creating your presets (like a Lightroom subscription or maintaining a website/online store), as you’ll want to cover those with your profits.
Promoting your presets
Social media is your best resource here. If you have a following on 500px, Instagram, Facebook, or Pinterest, you already have a built-in market and customer base. Post on Stories, and send out an email blast or newsletter to your existing clients.
People want to see the goods before they buy, so share some of your favorite photos with your presets applied (if you’re worried about theft, you can always add a watermark). You can also show people a side-by-side of your original, unedited photo and your final, polished image to demonstrate how it works. Everyone loves a “before and after” shot.
Share exclusive discounts with your followers, or write a behind-the-scenes blog post to tease a new preset pack. You can also do “a swap” with other photographers where you share and promote their presets, and they do the same for yours. Invite your customers to post their photos with your preset under a designated hashtag (e.g., #JaneDoePresets). Organize a poll where customers can give feedback on what they want in the future.
Finally, schedule your promotions ahead of time, based on your customers. If you specialize in warm, cozy edits, for example, you might want to market your presets for the holidays; on the other hand, if breezy, summery images are more your speed, you’ll want to make sure they coincide with those months. Presets are often seasonal, so that’s always something to keep in mind as you grow your business.
You might also like these articles:
Lightroom Workflow for Editorial Photographers
8 Post Processing Tips for Creating Beautiful Landscape Photos
Not on 500px yet? Sign up here to explore more impactful photography.
