On average, LinkedIn members with profile photos get 21 times more profile views than those without—and nine times as many connection requests.
These days, a good headshot can mean the difference between getting a dream job and missing out, whether we’re talking about a fashion model or an entrepreneur, and professionals across industries are realizing the importance of putting their best face forward.
For today’s photographers, headshots represent a new and exciting market—and a fresh creative challenge. Here’s what you need to know to set yourself up for success with eye-catching headshots.
Contents
What is a headshot?
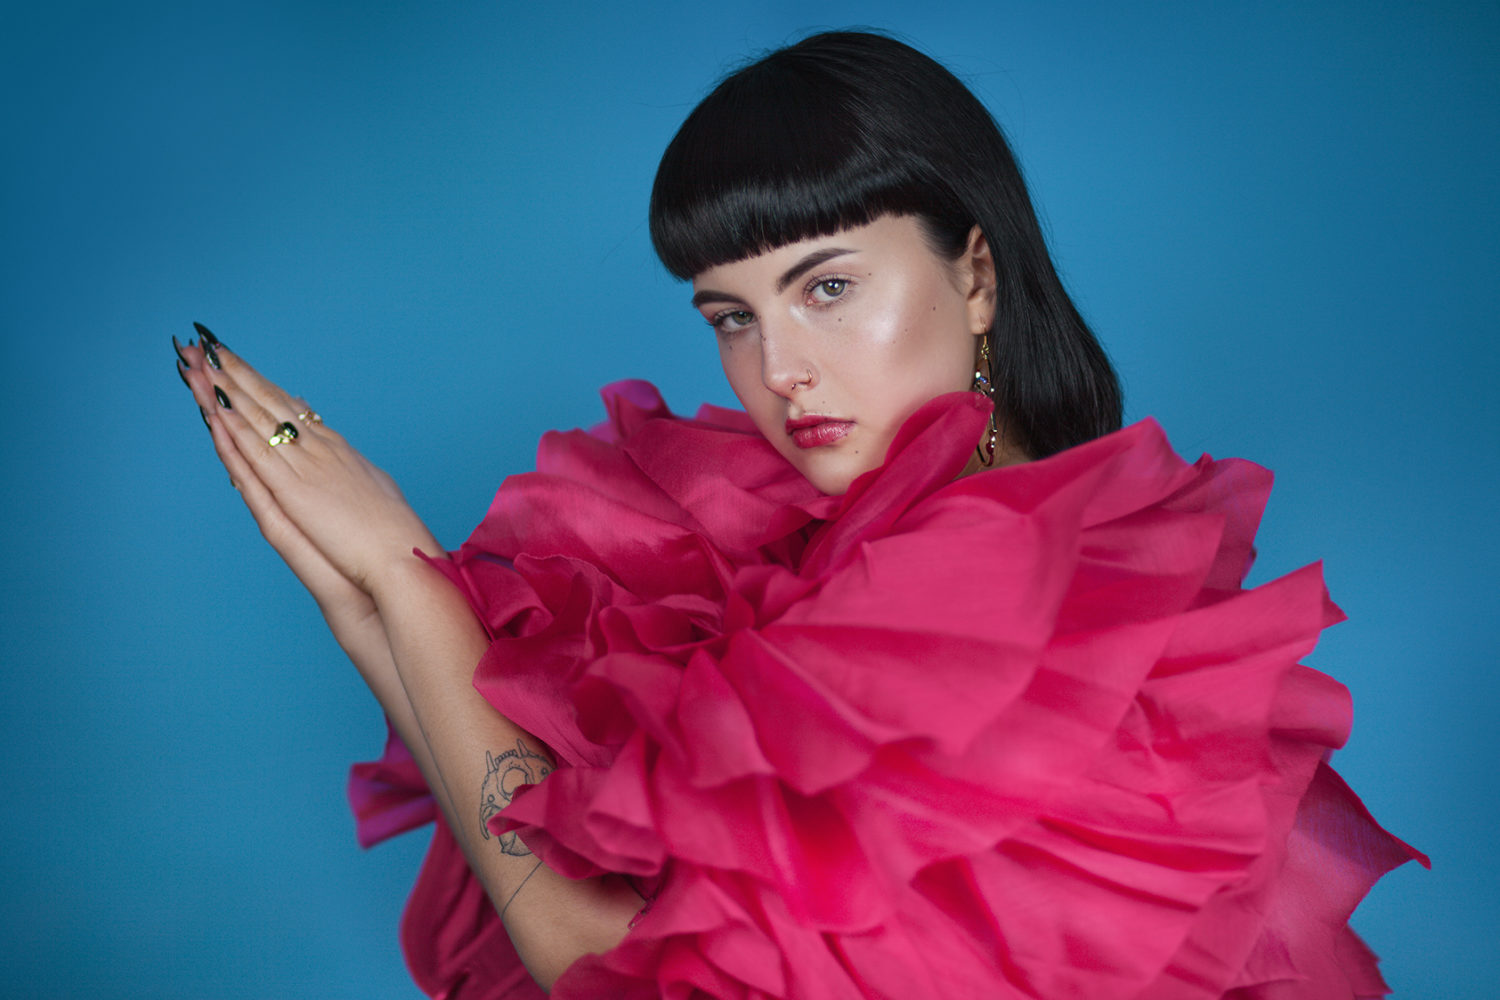
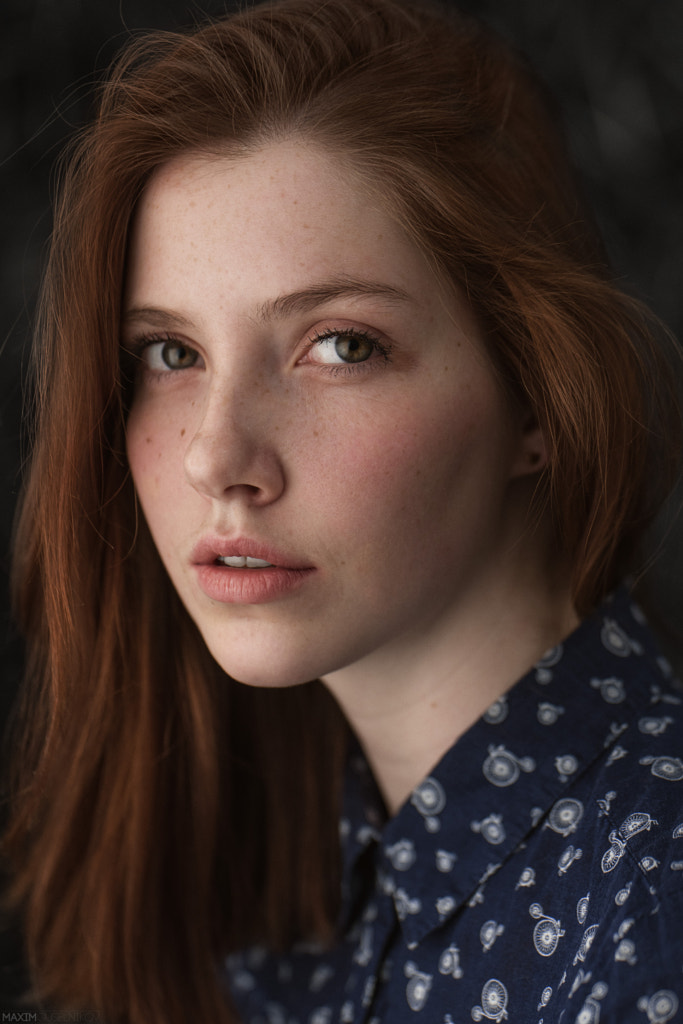
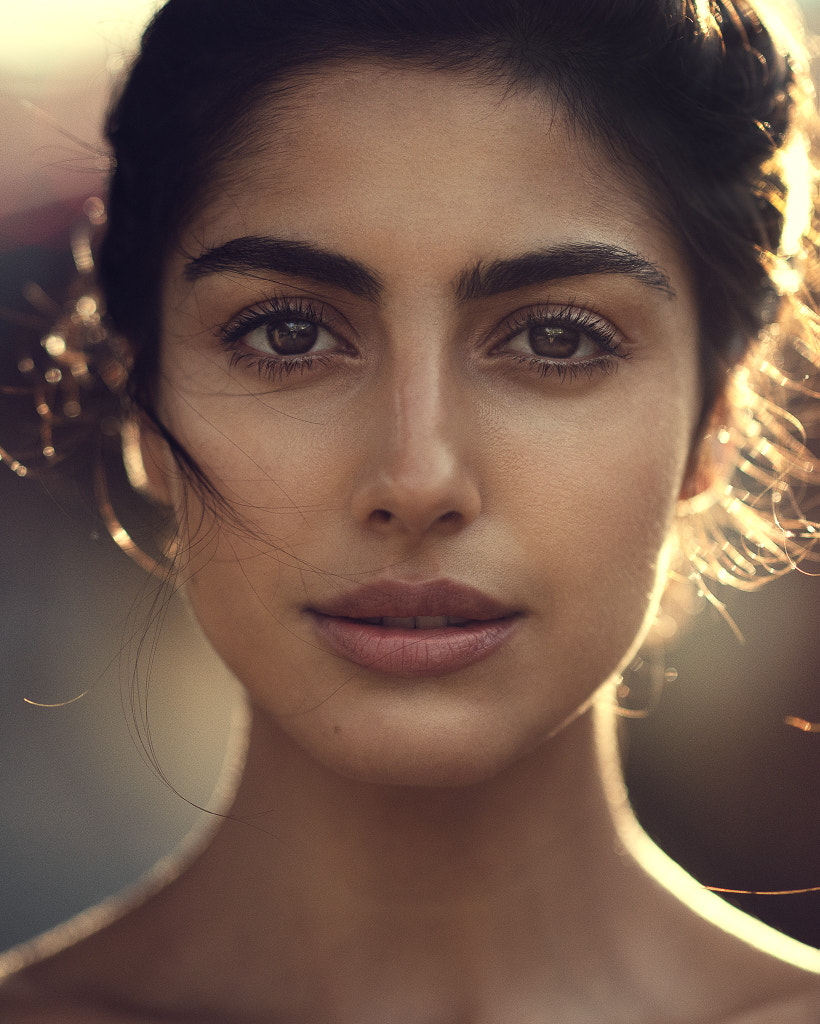
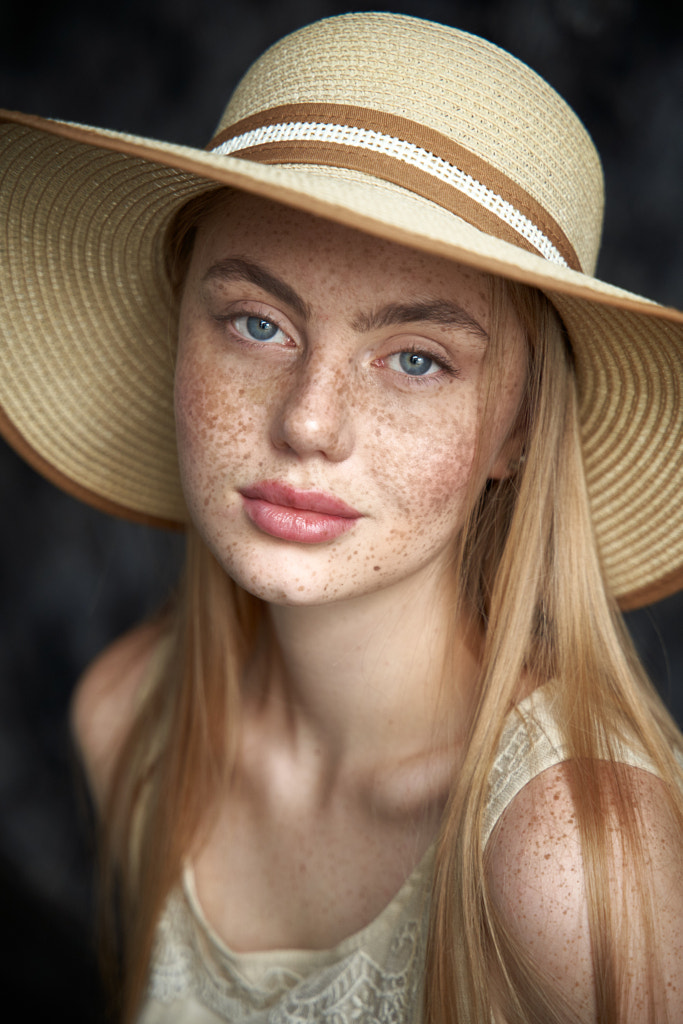
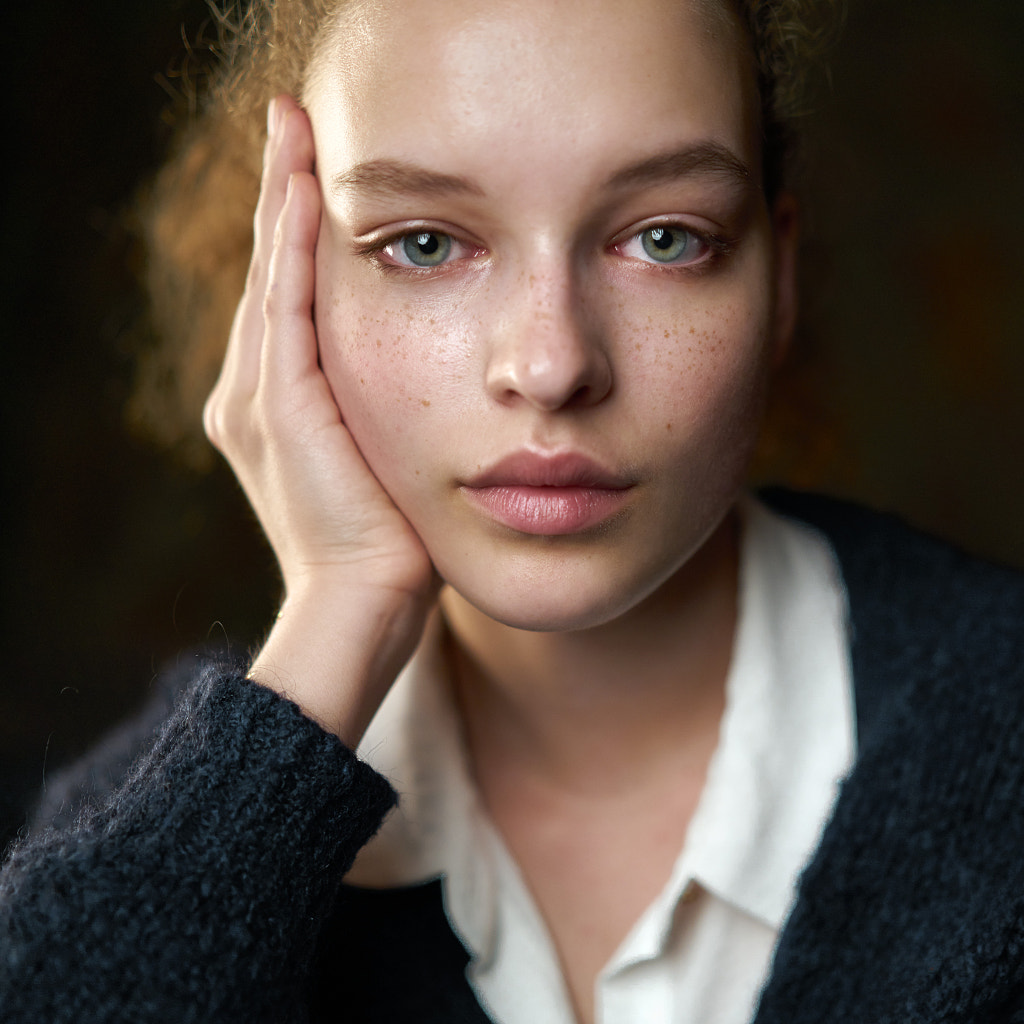
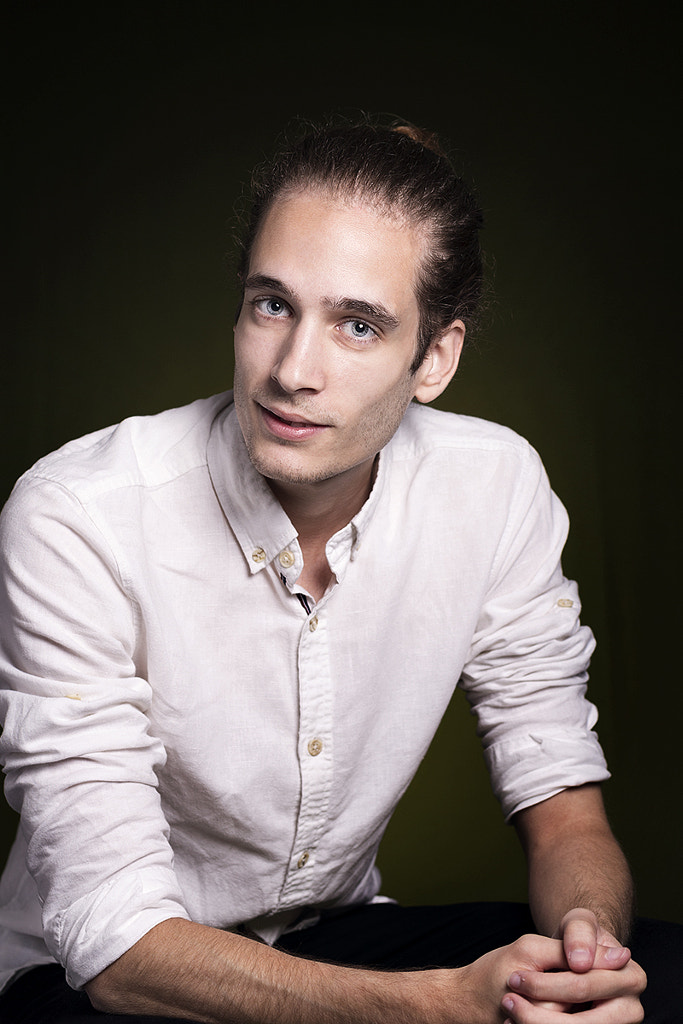
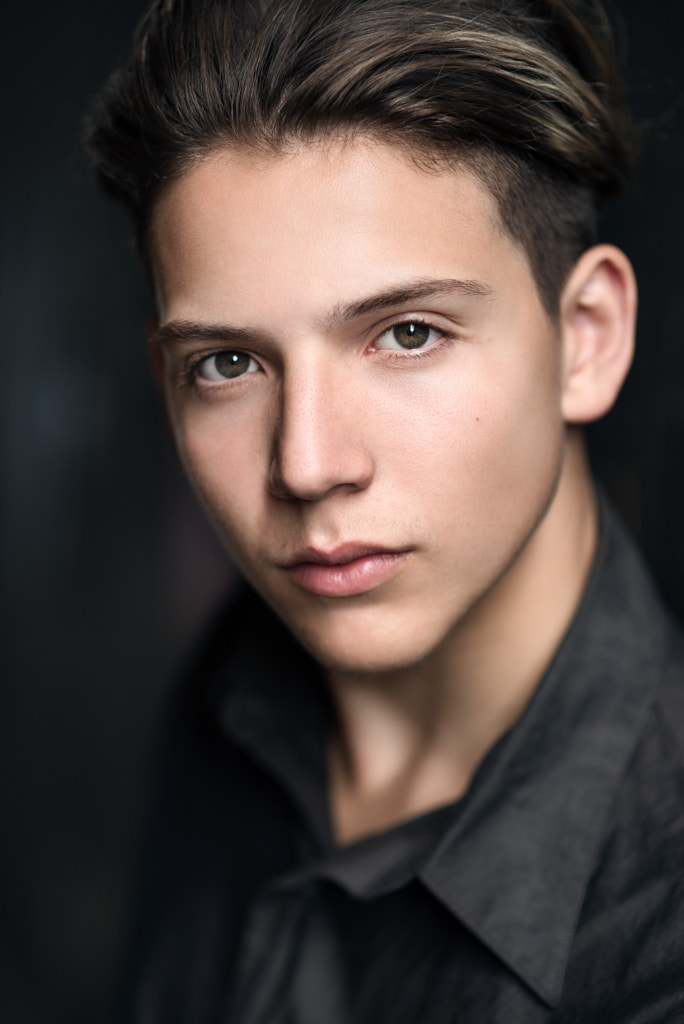
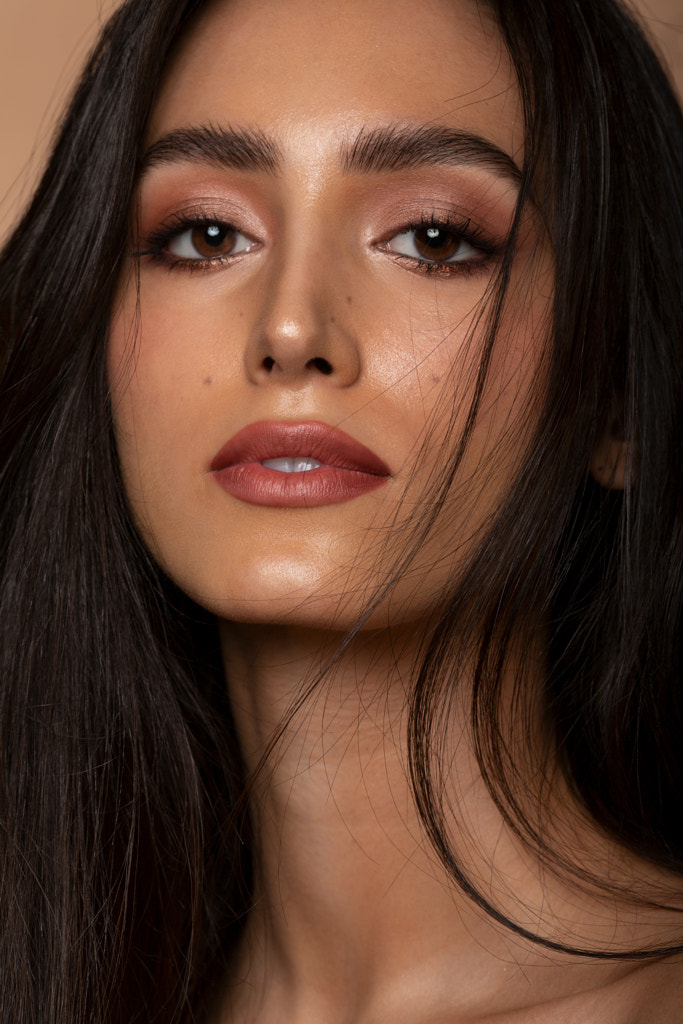
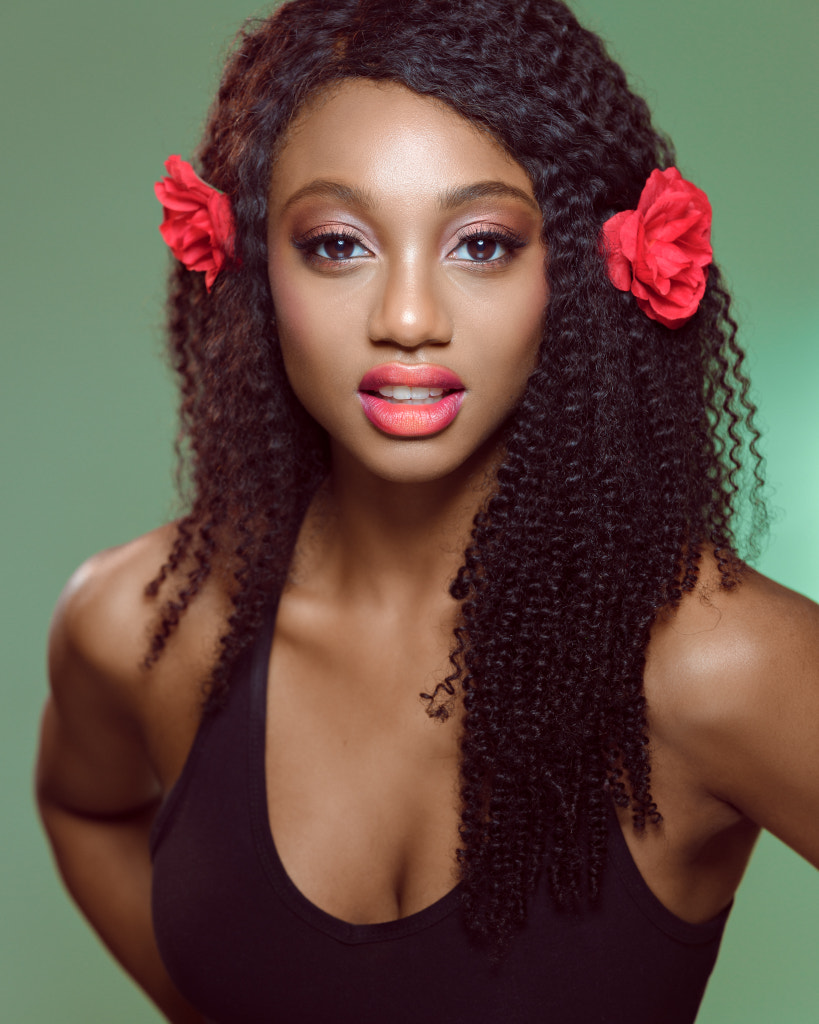
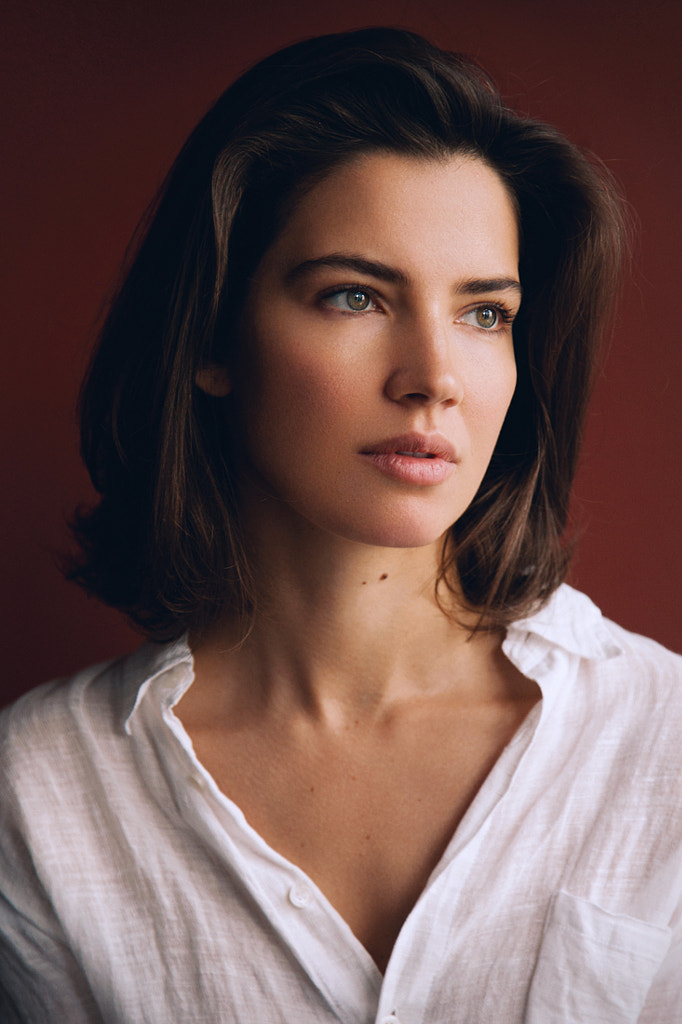
A headshot is different from your average portrait in that it focuses almost entirely on your subject’s face. It’s your client’s visual handshake, and, as such, it will be important for you to capture the exact tone for which he or she is going. A headshot will typically be a close-up shot with a blurred background.
Professional headshot photography equipment
The first step to headshot success is to arm yourself with the right tools. Although you can capture a quality headshot in sparse conditions, if you have a lot of experience and a little creativity, the right equipment will help your shoot go more smoothly, giving your clients a better experience.
What to look for in a headshot lens
When you buy a headshot lens, look for a telephoto that offers wide apertures to minimize distortion and depth of field while maximizing available light. Test for sharpness before you commit. Although it won’t impact your photos, for the sake of your own comfort, you may also wish to look for something lightweight.
Getting the right lighting setup
There’s no single way to light a headshot that is “right,” as long as it is flattering to your subject. However, to cover every situation, you should have a sturdy speedlight or studio strobe (preferably with a battery pack option) on hand, and a diffuser. A reflector and reflector stand will help you direct available light in close quarters, even when you’re working alone.
Other headshot equipment
As we’ll discuss in a moment, tethering equipment can be invaluable in a headshot session. You’ll also want comfortable seating, if possible, and a mirror to help your subject make small adjustments to hair, makeup, and clothing. A hand-held light meter will allow you to manage the light that falls on your subject as you set up.
Before the headshot photo session
Do your due diligence before the day of the shoot in order to plan effectively. Below are three concrete steps to facilitate this.
Speak with your client before the session
Consult with your client over the phone or in person, if possible, to get a feel for their needs and preferences. Ask how they will be using the photo so you can give them appropriate aspect ratios, set the right tone, and stay on-brand with their company. If you can’t consult live, send them a questionnaire to fill out in advance.
Choose an appropriate backdrop
A headshot background should complement the subject, not steal the show. Avoid overly busy settings with pops of distracting light or color. For a corporate headshot, find an office setting. For something more casual, consider looking outdoors. Plan the backdrop in tandem with your subject’s wardrobe so they work together, not against one another.
Plan your subject’s wardrobe
Your subject could have an unpleasant surprise for you if you don’t discuss their headshot clothing beforehand. Ask him or her to avoid any colors, patterns, or textures that will distract from his or her face. Solid colors with a neutral hue are usually a safe bet. If your subject feels that something more exciting captures their personality best, make sure the excitement doesn’t clash with the chosen backdrop.
During the headshot session
Walking into a shoot prepared is an important first step, but there’s more you can do during the session to ensure that it runs smoothly.
Put your subject at ease
Headshot clients can be a little tense about having their photo taken, especially in a professional environment. You’re used to the equipment and the flow of a shoot, but they may not be familiar with any of it. Explain each step as you go to reduce awkwardness. Ask your subject about themselves between shots. Anything you can do to relax your client will result in better, more natural photos.
Separate your subject from the background
A wide aperture will help create a blurred background that keeps the focus on your subject. You can increase this effect by moving your subject a few feet away from the background. (This is also a good way to introduce some soft, creamy bokeh into your headshot.)
Use even lighting
A common setup is with a strobe at about a 45-degree angle from your subject’s face. You can use a fill light at a low setting on his or her opposite side to minimize cast shadows from your subject’s facial features. Natural light from a window can help with this.
Use a stool
Some clients feel awkward standing for a headshot, not knowing what to do with their hands or which foot to put their weight on. Seating your client offers a natural place for his or her hands (in their lap), and your subject is more likely to stay in one pose since he or she won’t be shifting from one foot to the other.
Use tethered shooting
Shooting tethered will cut down on “chimping”, and it’s helpful to your client as well. You can show them some of the better shots as you go to increase his or her confidence and garner excitement about the results. Your subject will also be able to tell you what’s not working for them, so you can make adjustments.
Spot focus on the eyes
The most important facial feature in a headshot is the eyes. Particularly if you are shooting wide open to get that soft background, it’s important to make sure that you are spot focusing on your subject to ensure that he or she is the sharpest point of focus in the entire shot.
Use your angle wisely
The angle you shoot from can affect how your subject’s features appear. Shooting from slightly above can make eyes appear larger for a beauty shot, while shooting from below will emphasize the size of the chin and neck. It can also affect how shadows appear, so watch out for heavy brows, which can darken your subject’s eyes when you shoot from above.
Diffuse your light
Your client’s face is the star of a professional headshot, so you don’t want distracting shadows coming from your subject’s hair or nose. Diffuse your off-camera lighting with a softbox or umbrella and consider bouncing some of that light onto the other side of your subject’s face with a white reflector.
Use a hair light
By positioning your subject in front of the sun or adding a flash behind him or her, you can create more separation from the background and maintain detail throughout his or her hair. A little light goes a long way back there, so don’t make it brighter than the light on his or her face (which is, after all, the most important part).
Use a telephoto lens
Reach for a telephoto lens over a wide-angle when you are shooting headshots, ideally 60-90mm. Lens distortion will work in your client’s favor this way, slimming the face rather than ballooning it. A telephoto lens will also help you achieve that blurred background behind your subject.
Give clear instructions
Your client probably can’t see him or herself during a shoot, so it’s up to you to explain very clearly what you would like him or her to do. Be courteous, but specific, when you instruct your subject to tilt his or her head in a certain direction or shift his or her body to a different side.
To get an idea of what is trending in your area, search for “professional headshots”. Purchase any needed equipment and practice with it until you are completely comfortable. Then simply apply the information from this guide to conduct successful, professional headshot sessions every time you’re booked.
Not on 500px yet? Sign up here to explore more impactful photography.
You Might Also Like These Articles:
