So you’re looking to capture those mesmerizing reflections in water through photography. Whether it’s a serene lake or a bustling cityscape mirrored in a puddle after rain, the art of capturing these stunning reflections can truly elevate your photography game. But how exactly can you achieve those breathtaking shots? Fear not, as we delve into the techniques, tips, and tricks that will help you master the art of photographing reflections in water. Get ready to see your images come to life with an added touch of magic and allure.
Contents
- 1 Understanding the Concept of Reflections
- 2 How do reflections in water occur?
- 3 What makes water a good surface for reflections?
- 4 Why are reflections in water visually appealing?
- 5 Equipment Needed for Photographing Reflections in Water
- 6 Choosing the Right Location
- 7 Time of Day and Weather Conditions
- 8 Setting Up Your Equipment
- 9 Composition Tips for Capturing Reflections
- 10 Managing Exposures and Lighting
- 11 Focusing Techniques for Reflections
- 12 Creative Tips and Techniques for Reflection Photography
- 13 Post-Processing Tips for Enhancing Reflections
Understanding the Concept of Reflections
When it comes to understanding reflections in water, it’s important to grasp the basic concept behind it. Reflections occur when light bounces off a surface and returns to our eyes. In the case of water, the smoothness of its surface allows for light to reflect almost perfectly, creating a mirror-like effect. This happens because water molecules are not tightly packed, allowing light to penetrate and bounce back. Without this smooth surface, reflections would not be as clear and captivating.
How do reflections in water occur?
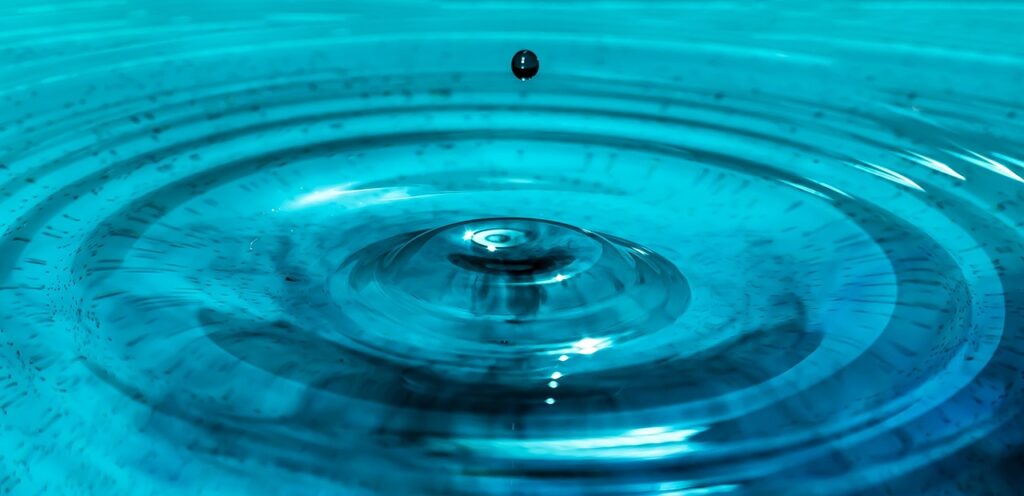
Reflections in water occur due to the interaction between light and the smooth surface of the water. When light strikes the water, it is either absorbed or reflected. The reflection happens when the angle of incidence, which is the angle at which the light hits the water, is equal to the angle of reflection, which is the angle at which the light bounces back. This phenomenon can be seen when you look at a still body of water and see a perfect replica of the objects or scenery above it.

This image is property of pixabay.com.
What makes water a good surface for reflections?
Water is an excellent surface for reflections due to its smoothness. Unlike other materials, such as concrete or grass, water has the ability to create a mirror-like effect. This smoothness is essential for capturing clear and well-defined reflections. The flat surface of water allows light to bounce back without significant distortion, resulting in vivid and captivating reflections.
Why are reflections in water visually appealing?
Reflections in water are visually appealing for several reasons. First, they add depth and dimension to a photograph, creating a sense of balance and symmetry. They also have a calming effect, evoking a sense of tranquility and serenity. Moreover, reflections can enhance the overall composition of a photograph, making it more visually interesting and engaging. The way in which the reflection interacts with the subject above creates a unique visual interplay, capturing the viewer’s attention and creating a sense of wonder.

This image is property of pixabay.com.
Equipment Needed for Photographing Reflections in Water
To capture stunning reflections in water, you’ll need the right equipment. Here are some essential tools that will help you achieve outstanding results.
Camera with manual settings
Using a camera with manual settings is crucial when photographing reflections. Manual control allows you to precisely adjust the exposure and focus, giving you full control over the final outcome of your image. This control is particularly important when dealing with the challenging lighting conditions often associated with reflections.
Sturdy tripod
A sturdy tripod is an essential tool for capturing sharp and steady images of reflections. Since reflection photography often requires longer exposure times, a tripod will help eliminate any camera shake or blur from shaking hands. It also allows you to keep your camera in a stable position, ensuring consistent framing and composition.
Polarizing filter
A polarizing filter is a valuable accessory for photographing reflections in water. This specialized filter helps reduce or eliminate unwanted glare and reflections from non-metallic surfaces such as water. It can also enhance color saturation and contrast, resulting in more vibrant and captivating reflections.
Remote shutter release
A remote shutter release, or a cable release, is another handy tool for reflection photography. It allows you to trigger the camera’s shutter without physically touching it, minimizing any potential camera shake. This is especially useful when shooting longer exposures, ensuring sharp and clear images.
Choosing the Right Location
Selecting the right location plays a crucial role in capturing remarkable reflections. Here are some factors to consider when choosing a location.
Consider calm water bodies
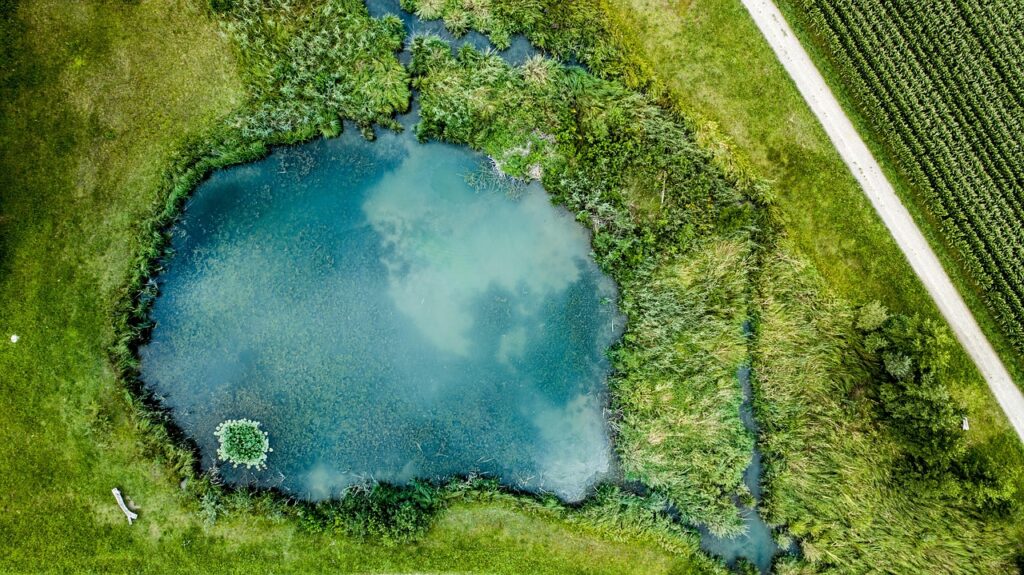
To achieve clear and undistorted reflections, it’s important to photograph in calm water bodies. Lakes, ponds, and slow-moving rivers are great options for this type of photography. These bodies of water provide a peaceful and still surface that will help enhance the clarity and detail of the reflections.
Seek interesting subjects
While reflections alone can make for captivating images, incorporating interesting subjects into your composition adds an extra layer of intrigue. Look for visually appealing objects, architecture, or natural elements that can be reflected in the water. These subjects will not only enhance the overall composition but also create a more dynamic and engaging visual narrative.
Look for colorful surroundings
Colorful surroundings can contribute to creating visually stunning reflections. When scouting for locations, keep an eye out for vibrant foliage, colorful buildings, or dazzling sunsets that can reflect beautifully in the water. These colorful elements will add depth and richness to your photographs, making them more visually appealing and captivating.

This image is property of pixabay.com.
Time of Day and Weather Conditions
The time of day and weather conditions play a significant role in capturing reflections with different moods and atmospheres. Here are some factors to consider when planning your shoot.
Capture reflections in soft light
Soft light, such as during sunrise or sunset, is ideal for capturing reflections. During these periods, the light is diffused, creating a gentle and flattering illumination. This soft light enhances the calmness and serenity often associated with reflection photography, resulting in a more ethereal and tranquil atmosphere.
Utilize golden hour for dramatic results
The golden hour, also known as the first and last hour of sunlight during the day, offers a magical and dramatic lighting quality. The warm tones and long shadows create a captivating and enchanting ambiance, making reflections more compelling and visually striking.
Experiment with cloudy or overcast skies
While clear skies are often preferred for reflection photography, cloudy or overcast conditions can offer unique opportunities. The diffused light on cloudy days can create a more even lighting across the scene, making the reflections appear softer and more subtle. Additionally, clouds can add depth and texture to the sky, resulting in a more dramatic and moody reflection.
Setting Up Your Equipment
Proper equipment setup is essential for capturing sharp and breathtaking reflections. Follow these steps to ensure optimal results.
Use a tripod for stability
To avoid camera shake and blurry images, it’s important to use a sturdy tripod. Set up your tripod on firm ground and adjust the height and position to achieve the desired composition. Make sure the tripod is secure and stable before proceeding to the next steps.
Attach a polarizing filter
Screw a polarizing filter onto the front of your camera lens. This filter helps reduce unwanted reflections and glare from the water’s surface, making the reflections more vivid and defined. Rotate the filter until you achieve the desired effect, but be mindful not to overdo it, as excessive polarization can lead to unnatural-looking reflections.
Adjust camera settings for optimal results
With your camera securely mounted on the tripod and the polarizing filter attached, it’s time to fine-tune your camera settings. Start by selecting manual mode to have full control over the exposure. Adjust the aperture to a smaller value (larger f-number) to achieve a larger depth of field, ensuring both the subject and its reflection are in focus. Next, set a low ISO value to minimize noise in your images. Finally, choose an appropriate shutter speed based on the available light and desired effect.
Composition Tips for Capturing Reflections
The composition plays a vital role in capturing striking and visually engaging reflections. Consider these tips to create compelling compositions.
Utilize the rule of thirds
The rule of thirds is a fundamental principle in photography composition, and it can be applied effectively when photographing reflections. Imagine a grid of nine equal squares overlaying your scene, and place key elements, such as the horizon or prominent subjects, along the grid lines or at their intersections. This technique adds balance and visual interest to your composition, creating a more pleasing and harmonious image.
Experiment with different angles and perspectives
Don’t be afraid to explore different angles and perspectives when photographing reflections. Get low to the ground for a unique, eye-level view, or experiment with unusual vantage points to capture distorted and abstract reflections. By embracing different angles, you can add creativity and originality to your images, making them stand out from the crowd.
Include both the reflection and the subject in the frame
To showcase the relationship between the subject and its reflection, it’s important to include both elements in the frame. Frame your composition in a way that captures the full reflection in the water while also providing enough space for the subject. This will give your images context and depth, making them more visually appealing and intriguing.
Managing Exposures and Lighting
Exposure and lighting are critical factors in achieving well-balanced and visually stunning reflections. Consider the following tips to manage your exposures effectively.
Balancing exposure with reflective surfaces
Photographing reflections can present exposure challenges due to the stark contrast between the reflection and the surrounding areas. To maintain a balanced exposure, evaluate the overall scene and adjust your settings accordingly. Use your camera’s spot metering mode to measure the exposure on the reflective surface, ensuring it is properly exposed while preserving detail in the rest of the image.
Using exposure compensation to avoid blowouts
Bright reflections can sometimes lead to overexposed areas in your image, commonly referred to as blowouts. To avoid losing detail in these areas, consider using exposure compensation. Dial in negative exposure compensation to slightly darken the image, preventing highlights from becoming too bright while retaining shadow detail.
Employing HDR techniques for high contrast scenes
High contrast scenes, where reflections are extremely bright in comparison to the surrounding areas, may require the use of HDR (High Dynamic Range) techniques. HDR involves capturing multiple exposures of the same scene at different exposure settings and merging them in post-processing. This technique allows you to retain detail in both the brightest and darkest areas, resulting in a well-exposed and balanced image.
Focusing Techniques for Reflections
Achieving sharp and well-focused reflections is crucial in reflection photography. Here are some focusing techniques to help you capture stunning images.
Choosing the right focus point
Selecting the right focus point is essential when photographing reflections. Using single-point autofocus, choose a focus point that aligns with the area you want to be sharpest in your image. This point can be on the subject, the reflection, or somewhere in between, depending on your desired effect and composition.
Utilizing manual focus
Sometimes, autofocus can struggle to accurately focus on reflections due to their abstract and shifting nature. In such cases, consider switching to manual focus. By carefully adjusting the focus ring on your lens, you can fine-tune the focus to achieve maximum sharpness on the reflection or subject, depending on your artistic preference.
Using hyperfocal distance for maximum sharpness
When you want to ensure both the reflection and the subject are in sharp focus, utilizing the hyperfocal distance technique can be beneficial. Hyperfocal distance is the focusing distance that provides maximum depth of field, meaning everything from a certain distance onwards will appear acceptably sharp. By setting your focus to the hyperfocal distance, you can achieve a greater depth of field, resulting in both the reflection and the subject being in focus.
Creative Tips and Techniques for Reflection Photography
To elevate your reflection photography, consider these creative tips and techniques that will add a touch of uniqueness and artistry to your images.
Experiment with long exposures
Long exposures can create ethereal and dreamy effects when capturing reflections. By using a slow shutter speed, often several seconds or more, you can smooth out the ripples in the water, resulting in a more surreal and abstract reflection. This technique can add a sense of motion and tranquility to your images, evoking a sense of peacefulness and serenity.
Create abstract reflections using ripples
Introducing ripples into the water can create mesmerizing and abstract reflections. By gently tossing small stones or creating ripples with a stick, you can distort the reflection, adding visual interest and intrigue to your images. Experiment with different intensities and sizes of ripples to achieve varying effects and create unique compositions.
Capture symmetrical compositions
Symmetry can be visually striking and captivating in reflection photography. Look for scenes where the reflected object or landscape creates a perfect mirror image. Position yourself and your camera in a way that captures a symmetrical composition, highlighting the balance and harmony inherent in reflections. This technique can produce mesmerizing and visually appealing images.
Post-Processing Tips for Enhancing Reflections
Post-processing is an essential step in bringing out the full potential of your reflection images. Here are some post-processing tips to enhance the reflections and make your images truly shine.
Adjusting contrast and clarity
To bring out the details and enhance the reflection’s impact, adjust the contrast and clarity in your post-processing software. By selectively increasing the contrast and clarity on the reflection, you can make it appear more pronounced and vivid, adding depth and visual interest to the image.
Enhancing colors using saturation and vibrance
Colors play a significant role in reflection photography. To make the colors in your reflections pop, consider adjusting the saturation and vibrance in post-processing. Carefully increase the saturation and vibrance sliders to intensify the hues in the reflections, making them more vibrant and captivating.
Removing distractions from the reflection
Sometimes, there may be distractions or unwanted elements present in the reflection that can detract from the overall impact of the image. In post-processing, take the time to remove or reduce these distractions using healing or cloning tools. By selectively removing distractions, you can create a cleaner and more focused reflection, enhancing the overall composition and impact of the image.
By understanding the concept of reflections, selecting the right equipment, choosing the perfect location, and mastering composition and post-processing techniques, you can capture stunning and captivating reflection photographs. Experiment with different approaches, be patient, and allow your creativity to guide you. With practice and perseverance, you’ll be able to create images that reveal the beauty and allure of reflections in water.

