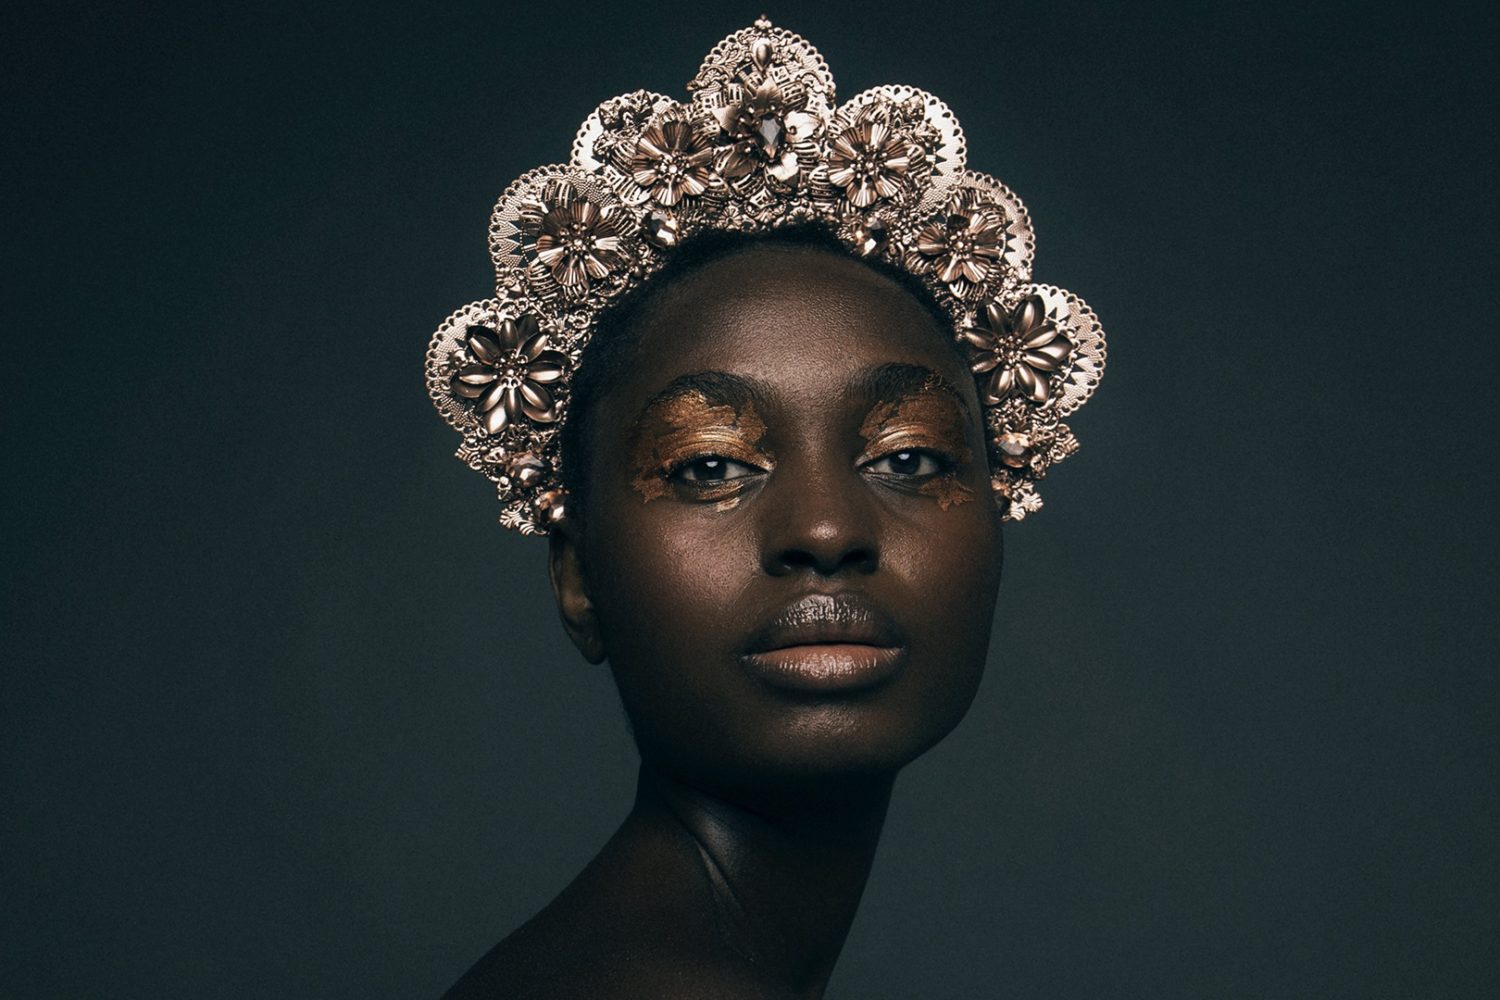
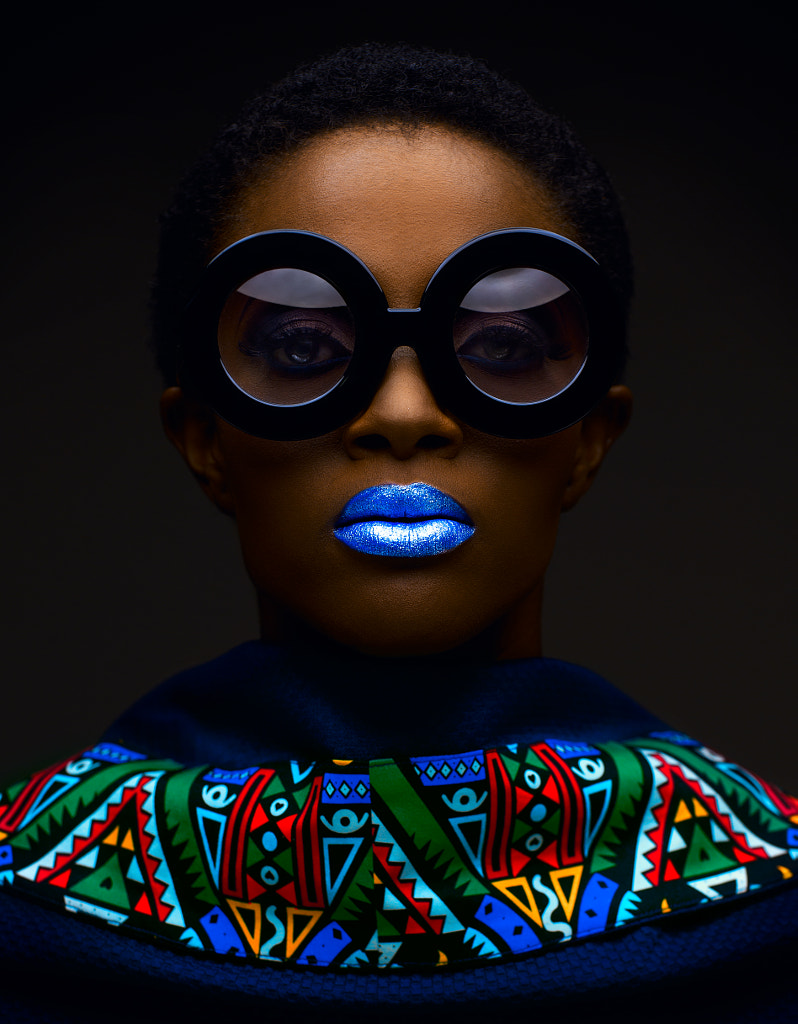
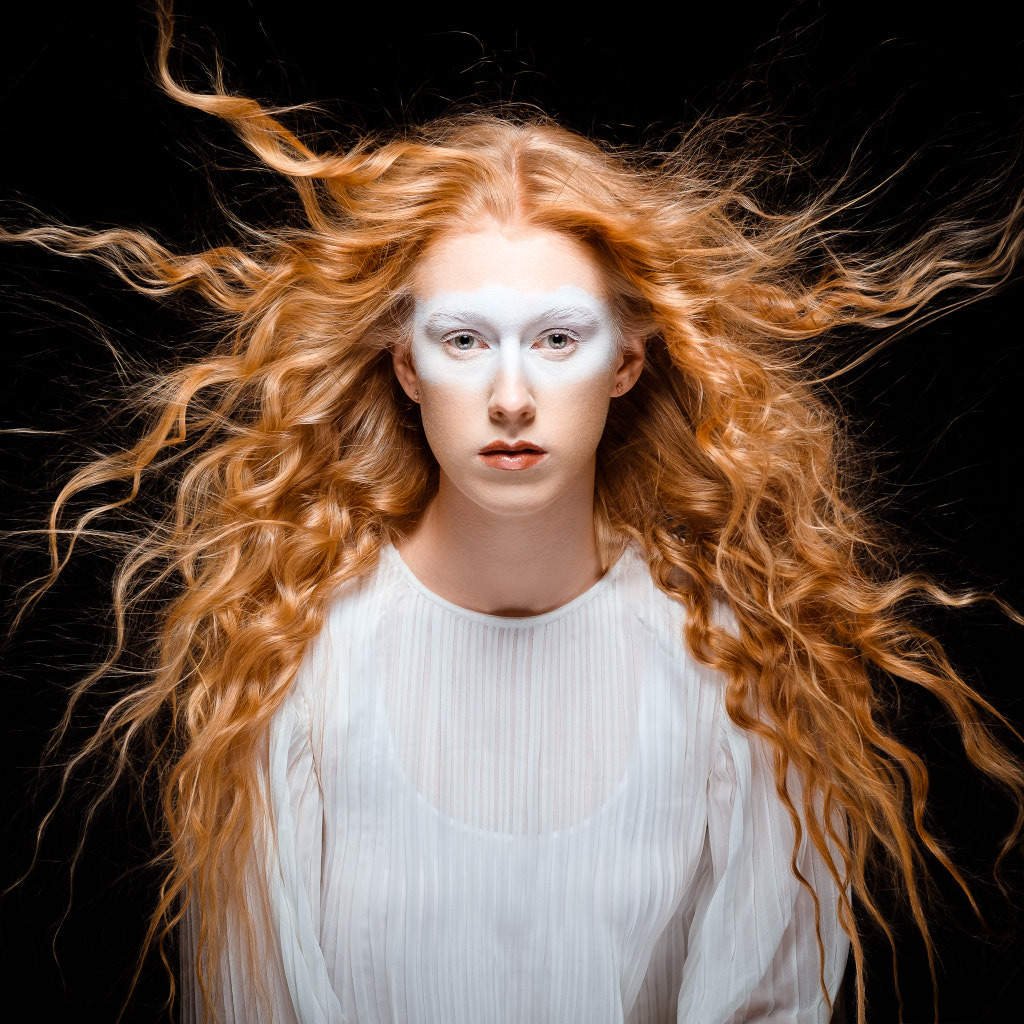
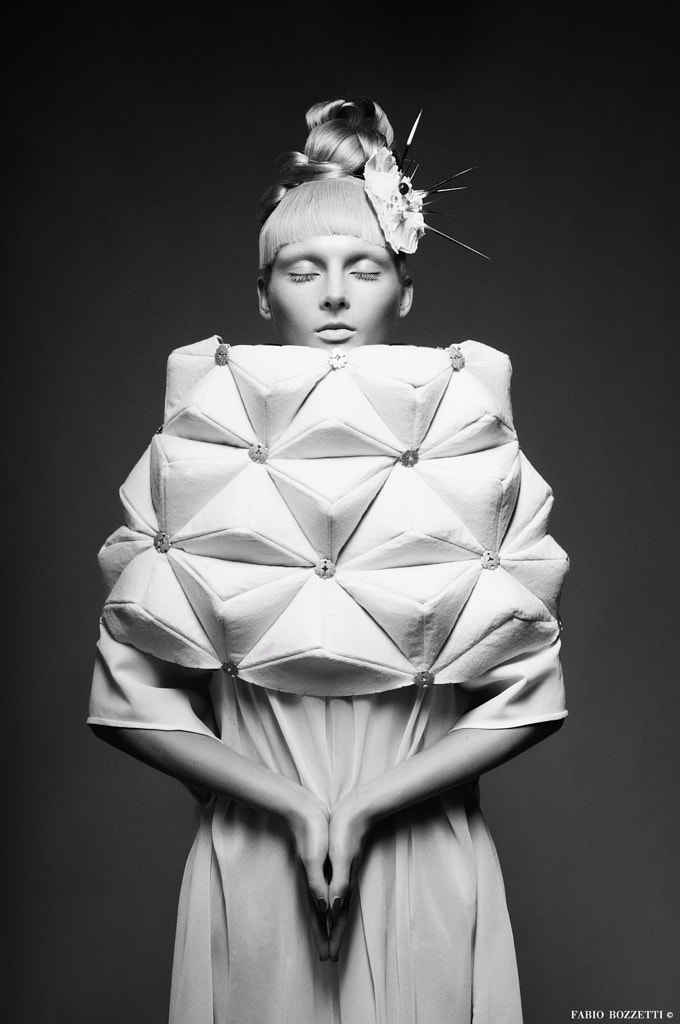
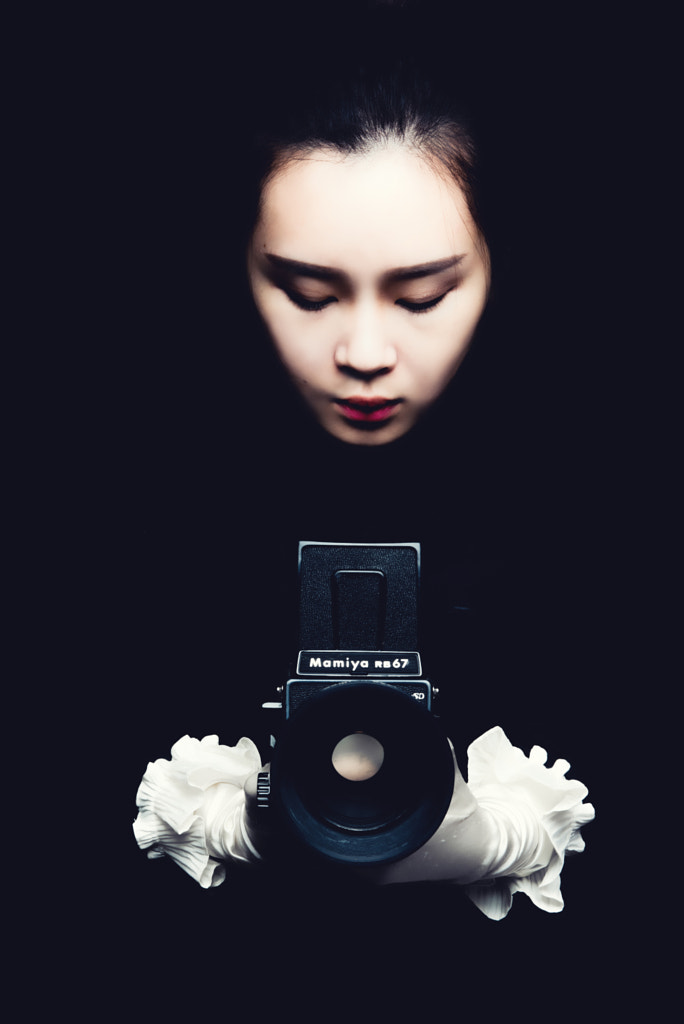
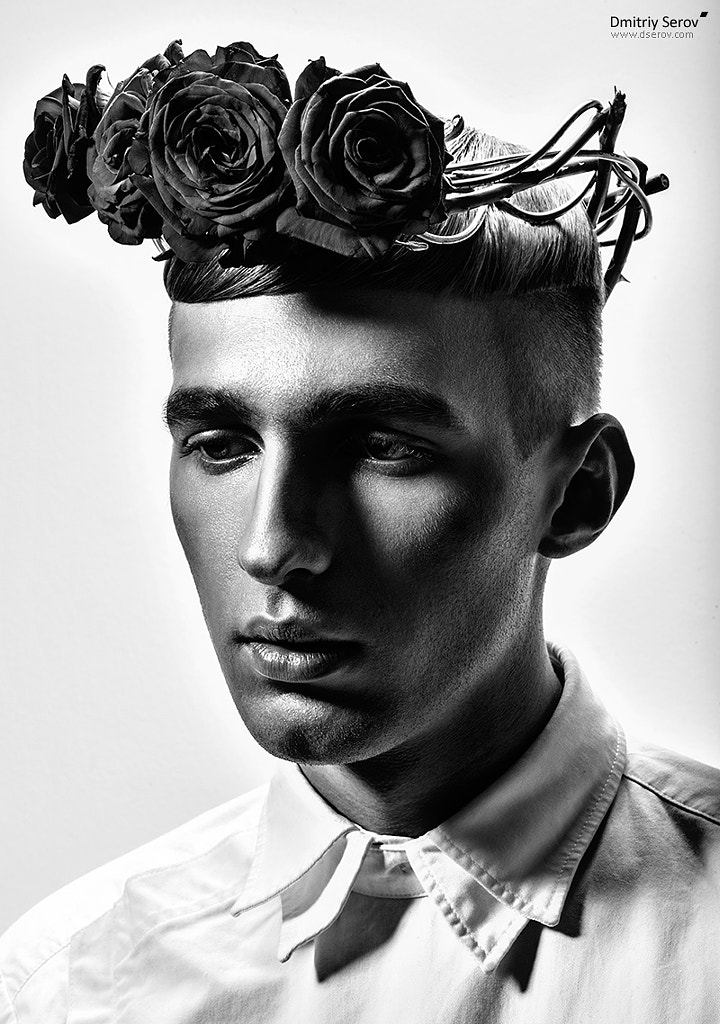
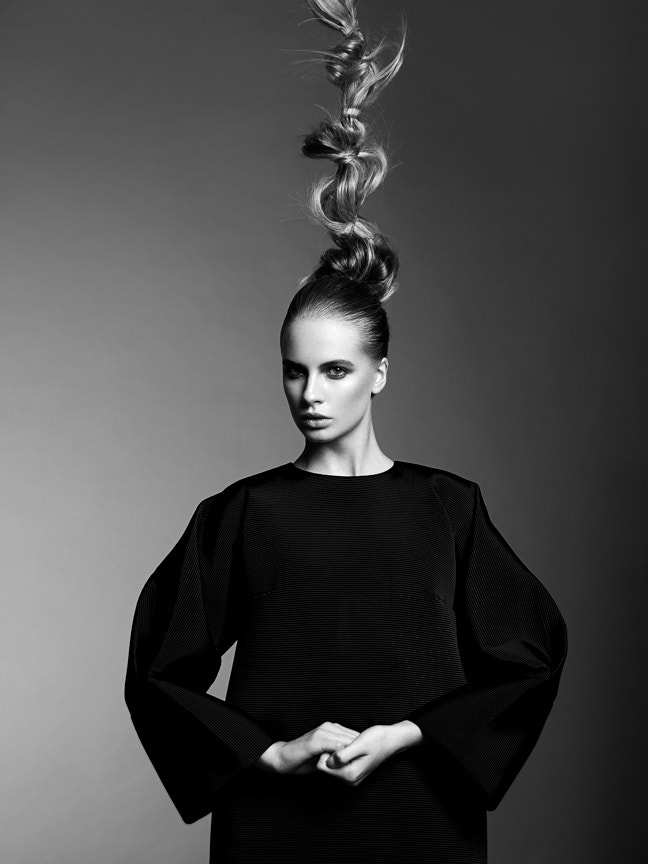
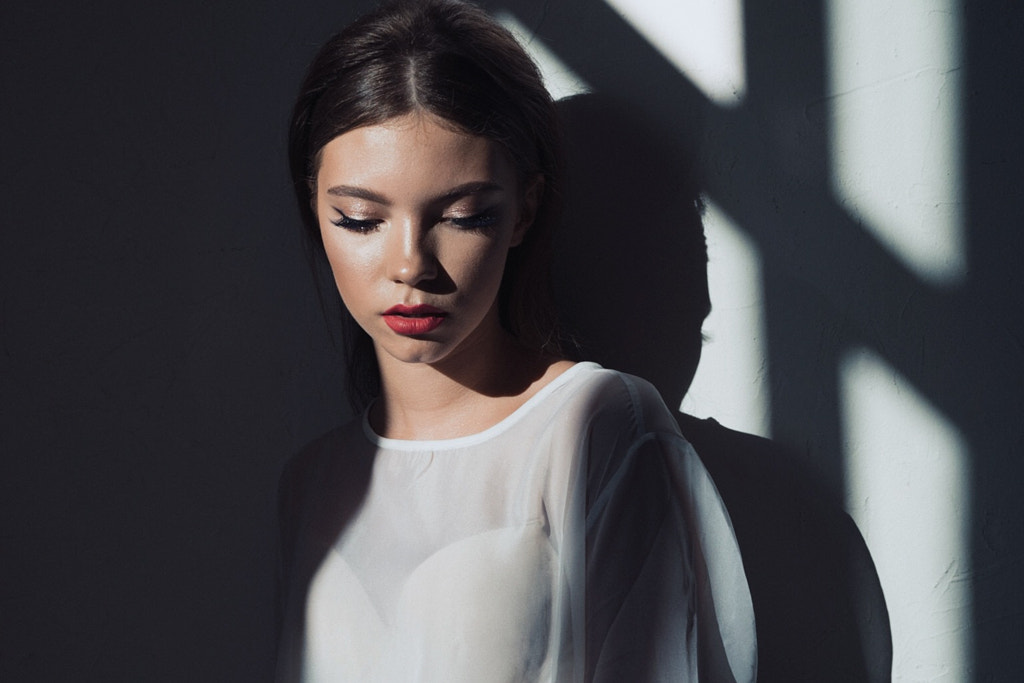
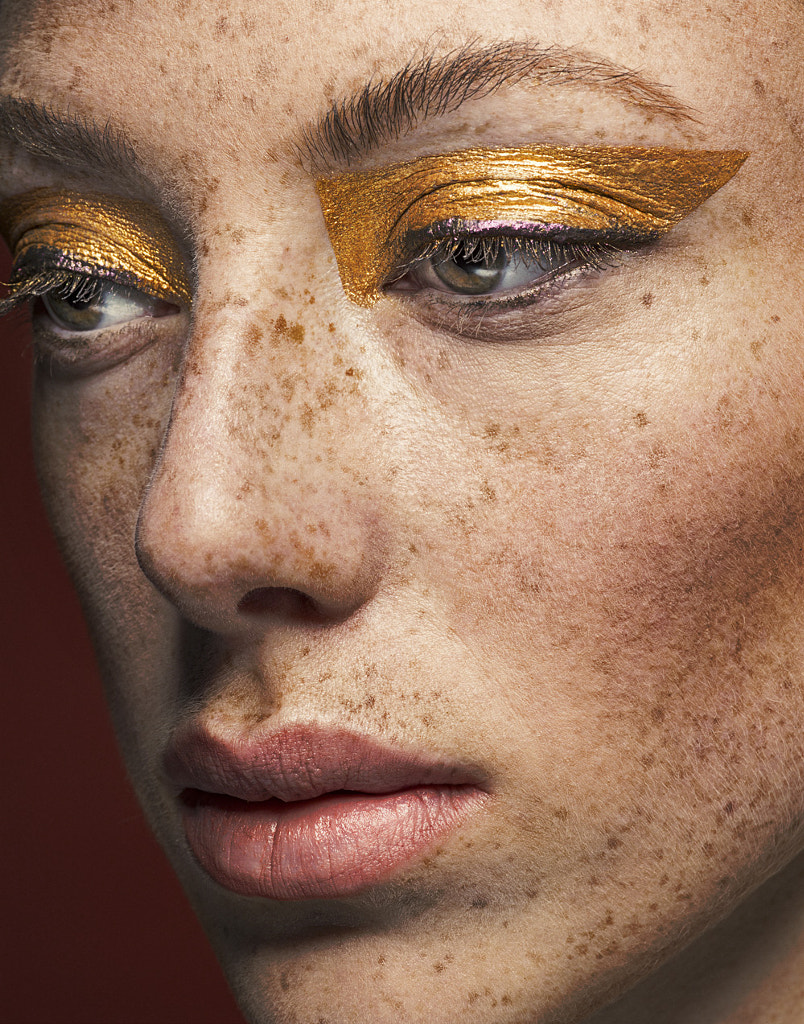
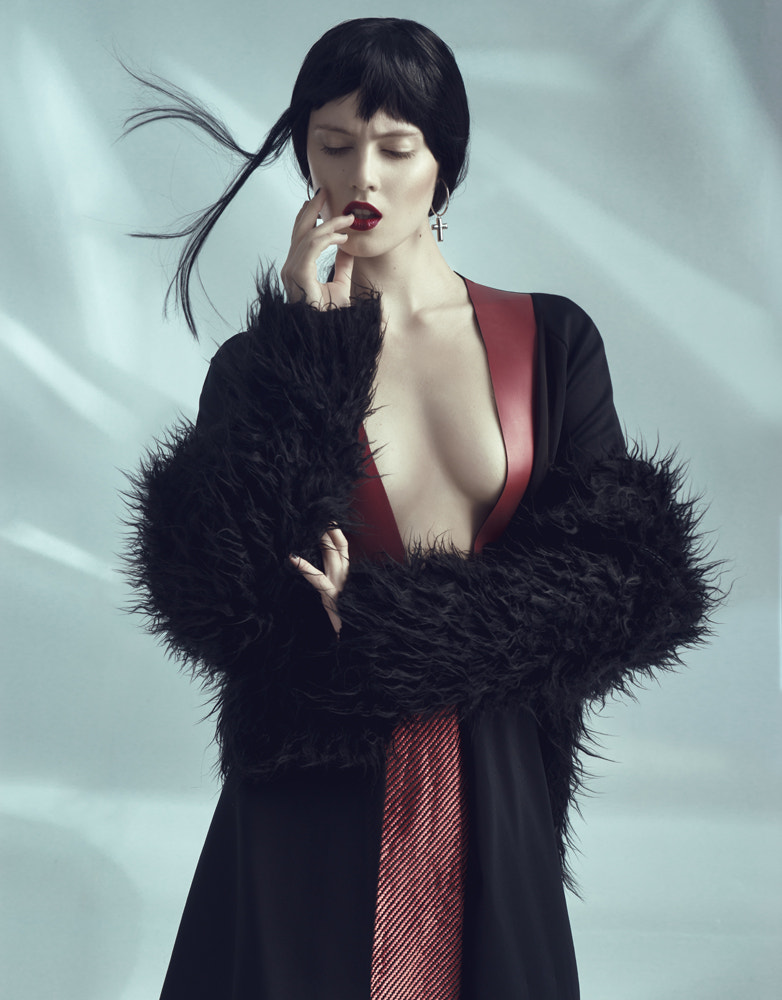
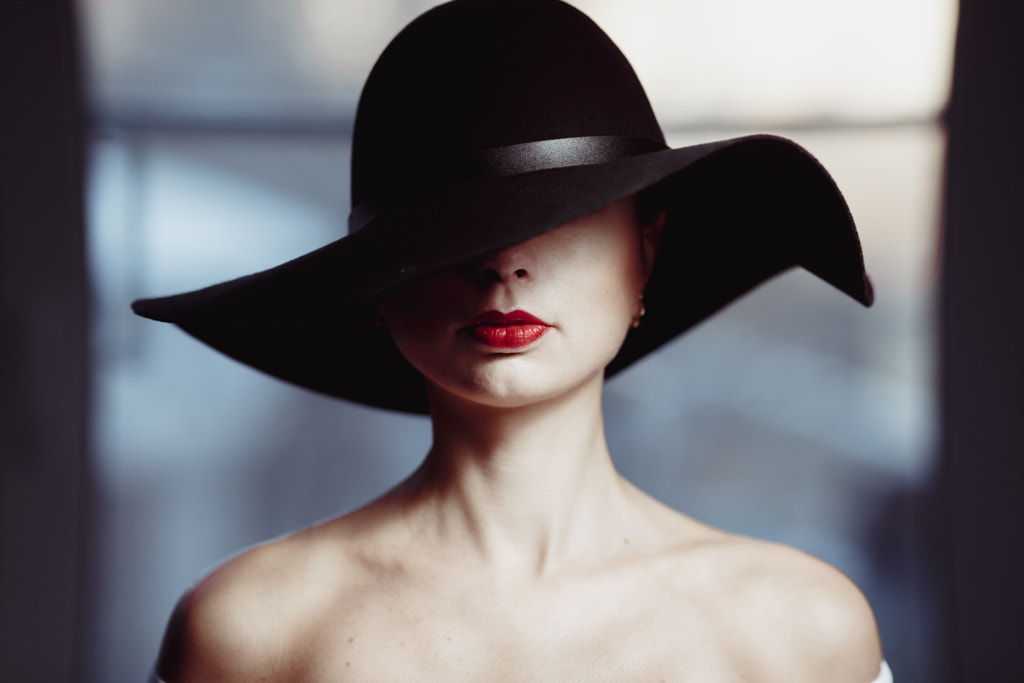
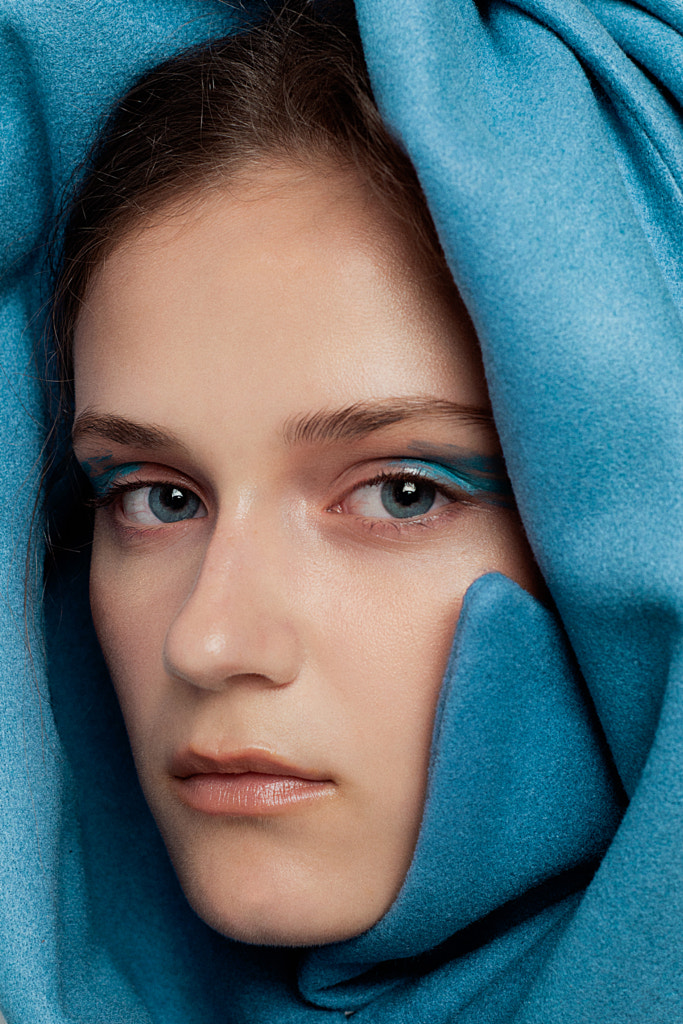
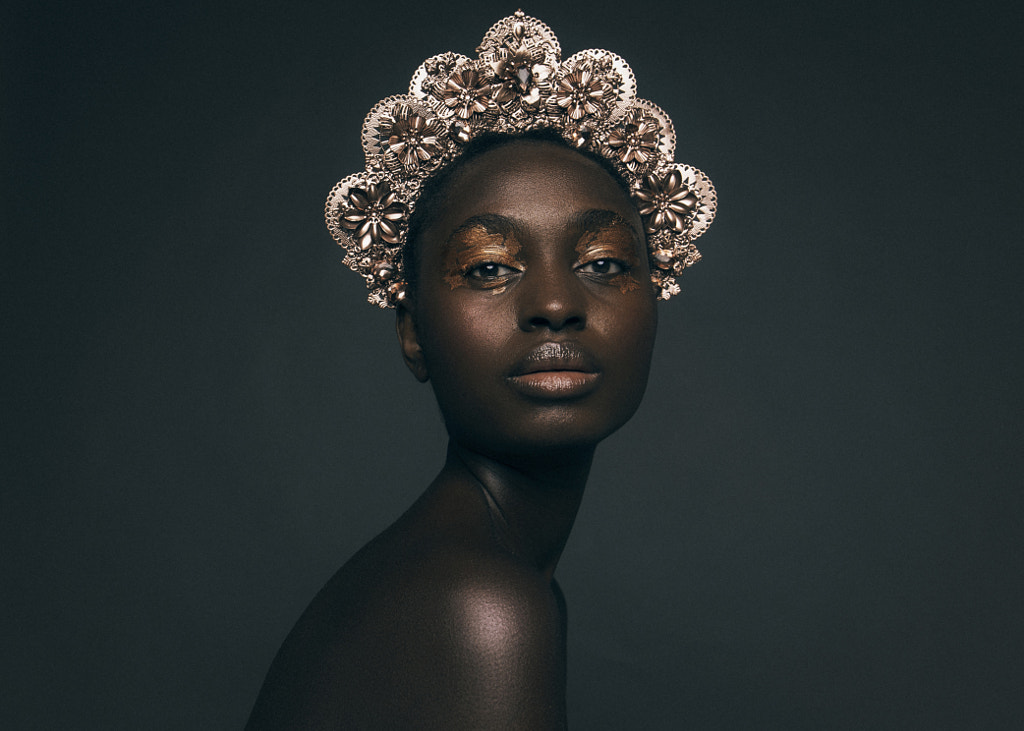
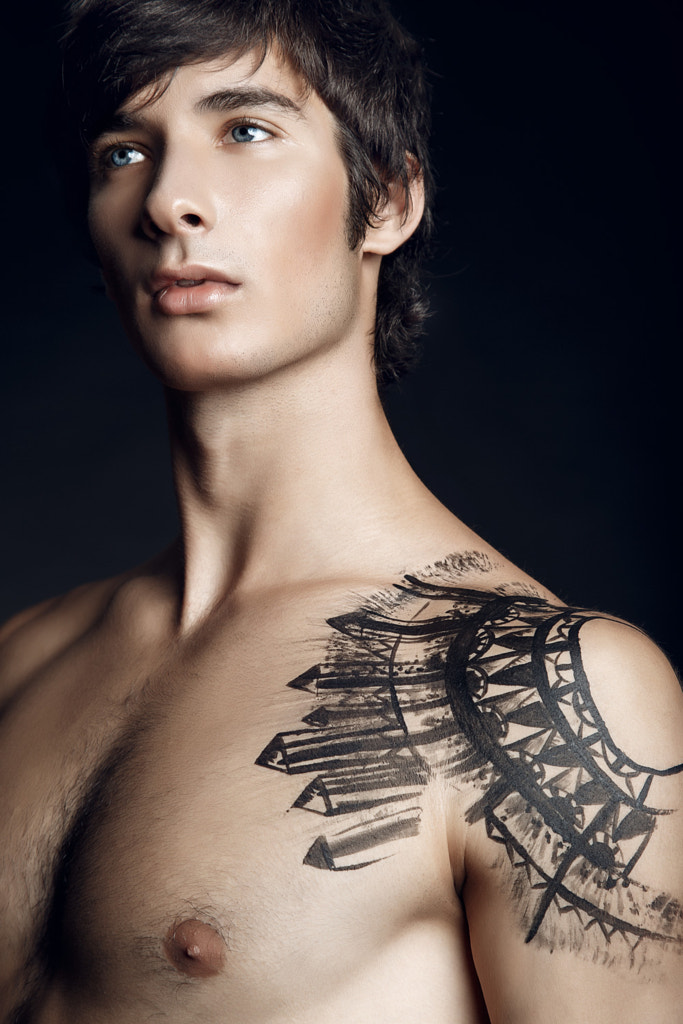
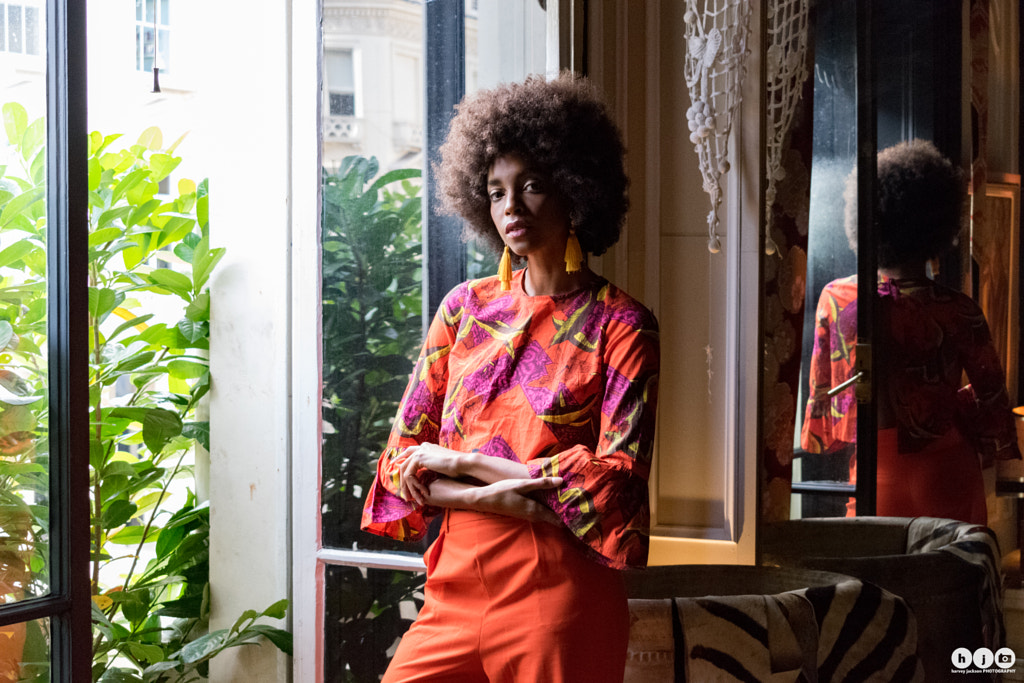
From “portrait mode” to “slofies” (slow-motion selfies), the technological developments of the past few years have taught us that portrait photography is for everyone, whether you have a DSLR or a camera phone.
On social media, a quick scroll through trending hashtags like #PostMorePortraits, #Portrait_Perfection, and #AGameofPortraits confirms that the art of portraiture is alive and well in the modern age. In fact, many of today’s photographers are turning to history to inspire their work; while some are channeling Renaissance painters with a dramatic chiaroscuro effect, others are playing with contrast by converting their portraits to black and white.
In honor of this tried-and-true genre, let’s take a look at just a few of the most common lighting patterns used for portraits throughout the years—and how to set them up. You can use window light for some of these, or you can use a studio light of your choice.
For now, we’ll just be looking at the position of the light and how it plays out across the face, and we’ll focus on setups you can achieve with just a single light source. It’s easier to learn these with continuous lighting so you can observe the patterns in real-time, but you can also use strobes if you prefer.
Contents
Butterfly lighting
Butterfly lighting gets its name from the shape of the small shadow that appears under the nose when you place a light source slightly above the camera, pointed down onto the face. It’s also centered directly in front of the model, rather than to the left or right.
The higher you position the light, the lower the shadow will fall; place it too low, and you won’t get that nice butterfly shape, but move it too high, and the shadow will stretch down the face and onto the chin. An angle of about 25 to 45 degrees above the face should be a good starting point, though you’ll adjust based on the shape of the face.
This type of lighting is perfect for creating those flattering shadows below the cheekbones, and it helps smooth the complexion. One thing to watch out for is a pronounced shadow on the chin, but you can always use another softbox or a card to fill that in from below. If you use a fill light for this purpose, it’s called “clamshell” lighting.
Butterfly lighting is also called “Paramount lighting” because, during the Golden Age of Hollywood, many starlets insisted on being photographed exclusively with this pattern.
Rembrandt lighting
This pattern, named after the Dutch painter, happens when the shadow cast by the subject’s nose and the shadow of the cheek form a triangle of highlight on the far side of the face. To get this look, simply position your key light at about a 45-degree angle from the side, pointing down at your subject.
If you’re working with studio lighting, move your key light up or down until that signature triangle appears below the eye, or slightly turn your model’s head to get the positioning just right. Aim to get the triangle to be approximately the same width as the eye above it and no longer; the highlighted triangle should also stop before crossing past the nose, so it might take some finessing based on the model’s face.
Don’t be afraid to use natural window light, either; just remember to block off part of the window if it’s on the longer side, since all the light needs to come from above your subject. Regardless of your light source (natural or artificial), you’ll want to make sure it’s heavily diffused, as in the case of a softbox or window curtains.
As you might have guessed from its name, this type of lighting results in dramatic, moody portraits. If the shadows on the far side of the face are too dark, use a fill card to flatten it out until it’s to your liking. You can also bring in a fill light if the card doesn’t do the trick.
Loop lighting
This pattern also occurs when the shadow from the nose is cast down onto the face, but unlike with Rembrandt lighting, it never completes that closed triangle of light by meeting up with the shadow on the cheek. For this one, you’ll want to bring your key light somewhere in between where you had it for the Rembrandt (approximately 45 degrees from your subject) and where you had it for your butterfly (directly in front of your subject).
Around 30 to 40 degrees to the right or left of your model is a good starting range, but it’ll depend on the shape of the face; move it around until a “loop-shaped” shadow appears below and to the side of the nose.
You can move your key light up or down to change the shape of the loop and play with the distance between your light and your subject to see what works. This pattern is a perfect medium and will work with most faces; it isn’t as dramatic as the Rembrandt, but it’ll add some depth and separate the features nicely.
Split lighting
This pattern is exactly what it sounds like; it splits the face into two parts, one illuminated and one in shadow. To get the look, place your key light at a 90-degree angle on the right or left side of the subject’s face, at around eye-level. Ideally, for true split lighting, you’ll want to have the face directly bisected through the middle, without a gradual shift from light to dark. Needless to say, this look is a dramatic one; feel free to use that fill card on the shadow side to soften the contrast.
Catchlights
Catchlights appear when your subject’s eyes reflect your light source; if your light is round, your catchlights will be round, while square lights will produce square catchlights. They’re important because they create that “gleam” or “spark” in your model’s eyes, bringing a sense of vitality to the entire portrait.
Regardless of the lighting pattern you use, keep an eye out for those catchlights; you can always add them (or remove them) in post-processing, but it’s best to remember them while on set as well. If you’re having trouble finding your catchlights, you can always bring in a reflector to make them bigger.
Having one round catchlight in each eye will usually result in the most natural portrait, since it mimics the look you’d get if you were shooting with only the sun; often, portrait photographers will place them in the “10 o’clock” or “2 o’clock” position in relation to the subject’s eye, though you can mix it up depending on the mood you want. Make sure the eyes are in focus for the full effect.
Broad versus short light
In portraiture, “broad lighting” refers to setups where the illuminated side of a subject’s face is facing the camera. “Short lighting” does the opposite; that is, the darker, shadowed side of the face is closest to the camera. Broad light, needless to say, broadens the face, while short light sculpts it and adds more contrast for a more low-key vibe. You can move between broad and short light by moving your model or your light to see what works.
These are just some of the most well-established lighting patterns for portrait photographers, so think of them as a point of departure rather than a final destination. Your lighting choices will change based on your subjects’ facial shapes and their features, so what works for one person might not work well for another. Plus, we haven’t even touched on lighting setups with additional sources that can separate your subject from your background (sometimes called “kicker lights”).
Your lighting pattern won’t only change based on your subject but also the mood and intention of the photoshoot; if your goal is to convey mystery, split-lighting might work, while a glamor shot might be better suited to butterfly lighting. Train your eye by studying pictures you love, from paintings in a museum to portraits on 500px. Learn how artists in the past have used these patterns to their advantage—and adapted them to their needs.
You might also like these articles:
–50 Creative Self Portrait Photography Ideas To Trump All Selfies
–Tutorial: How to Capture a Long Exposure Portrait
–35+ Best Black and White Portraits on 500px
–How I Shoot Portraits Photography Shots
Not on 500px yet? Sign up here to explore more impactful photography.
